Hey Guys!
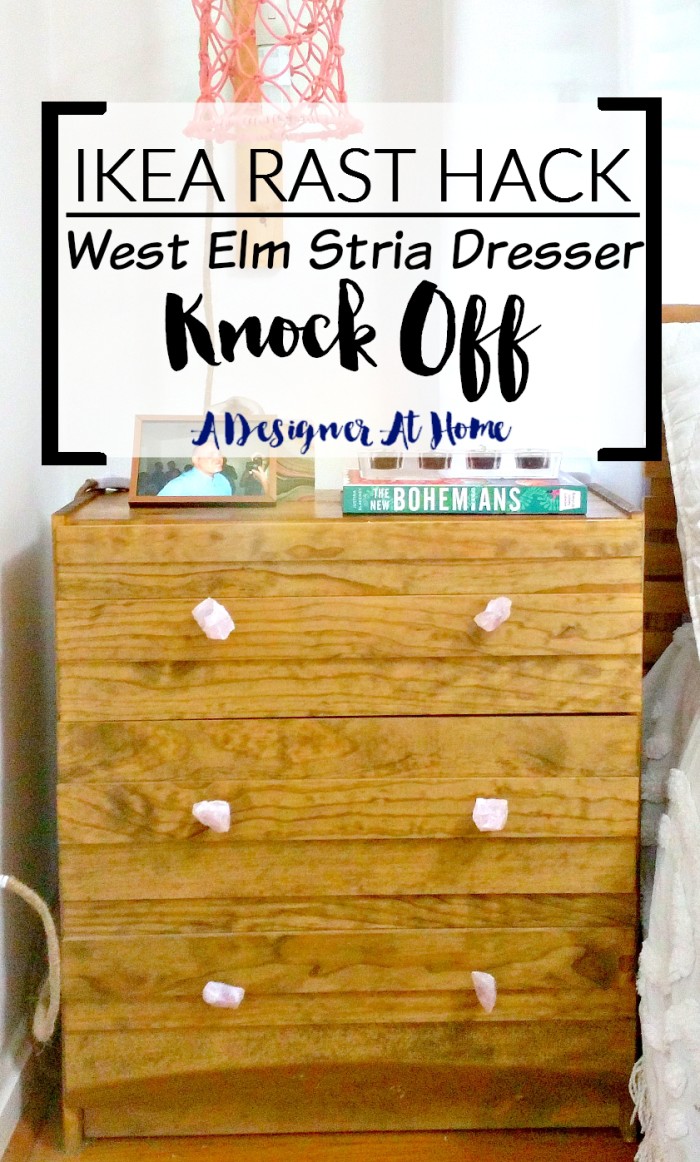
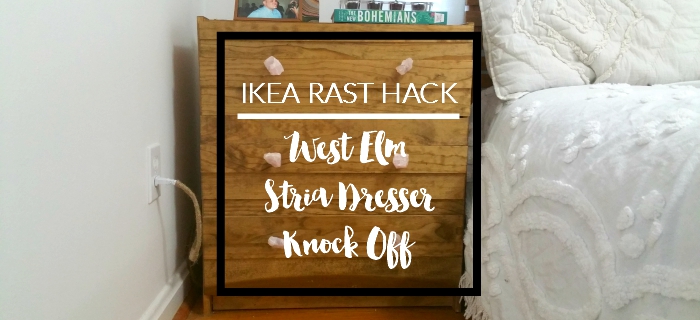
I love West Elm, but it’s not always in my budget to buy new furniture. Well actually, it’s never in the budget to buy new furniture, especially when it comes with the price tag that West Elm comes with. But it can be really easy to get “the look” without buying from the retailer you’re loving. Hacks are great! And I’ve got one of my own to share. The IKEA Rast is the perfect candidate for any hack. For my nightstands, I wanted to replicate the look of the West Elm Stria dresser. In the tutorial below I’ll share with you how I created them- I think you’ll like it!
The cost savings to create the dresser from scratch is insane! Though it is slightly smaller than the 3 drawer dresser from the Stria series, it is also significantly larger than the nightstand from the series. The nightstand is also only a 2 drawer (and $349). Call it what you want!
IKEA Rast Hack to West Elm Stria Knock Off
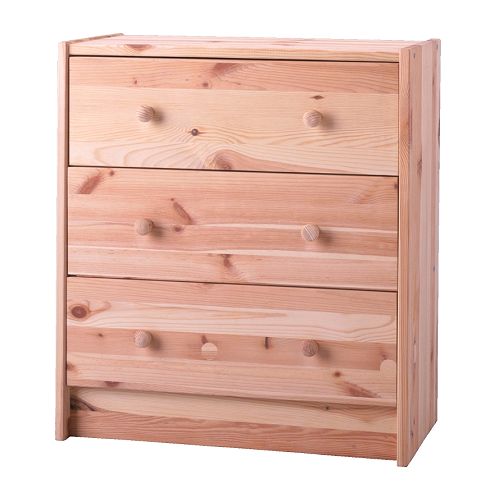
I started with a road trip to IKEA. Our nearest IKEA is 2.5 hours away. But, I’ve wanted to go for years now. And I needed a real wood 3 drawer dresser for cheap. I could’ve waited around for Craigslist to produce something, but I wanted to finish this project in a short period of time.
(Enter IKEA Rast dresser from stage left)
It took about an hour to put the two together that night. It was an easier process than any of the cheap Walmart and Target furniture I’ve bought.
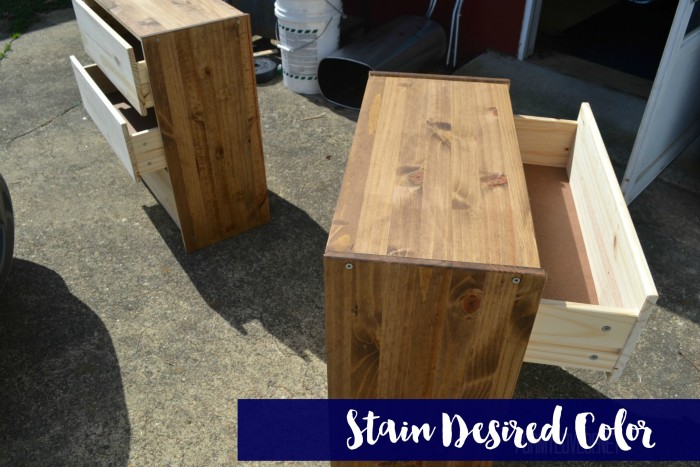
The next morning was Saturday and it was BEAUTIFUL out. The little guy and I ate breakfast in the yard and played a while. A short while later, he lost interest in me and got to exploring the yard. I took the opportunity to stain the dressers (“Special Walnut”, I like that it has less red undertones unlike the Stria, but since it’s a DIY it could be any!).
Later that afternoon, Hubby volunteered to come with us to Lowe’s so I could get wood for the drawer fronts. I found what was called “craft wood” that came in perfect 24 inch length pieces. I also picked up a few of the 48 inch long pieces because they came in thicker pieces. I bought 3/8 x 2 x 24, 1/2 x 2 x 24, 3/8 x 3 x 24, 3/8 x 3 x 24, 1 x 3 x 48, and 1 x 4 x 48.
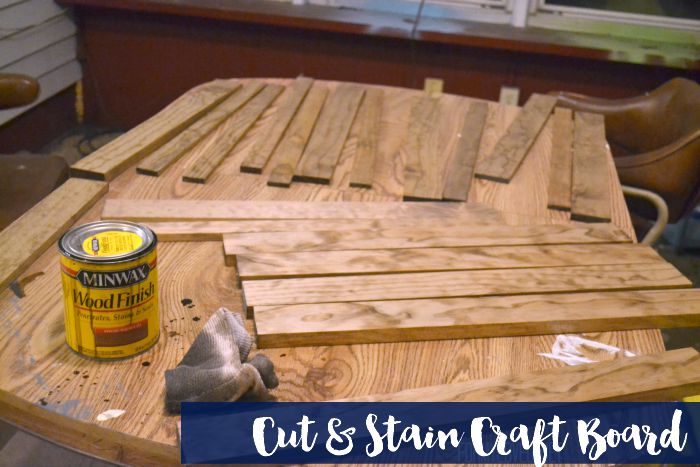
That night I laid wood glue on the drawer front, stained the pieces of wood (hubby cut the 48 inch long pieces in half), and pressed them into the wood glue. The middle drawer was covered with exactly 7 inches width worth of wood. The top drawer was cover with 8 inches width worth of wood leaving leftover to cover the dresser top that shows from the front. And the bottom drawer used 11 inches width worth of wood to cover most of the gap at the bottom of the dresser.
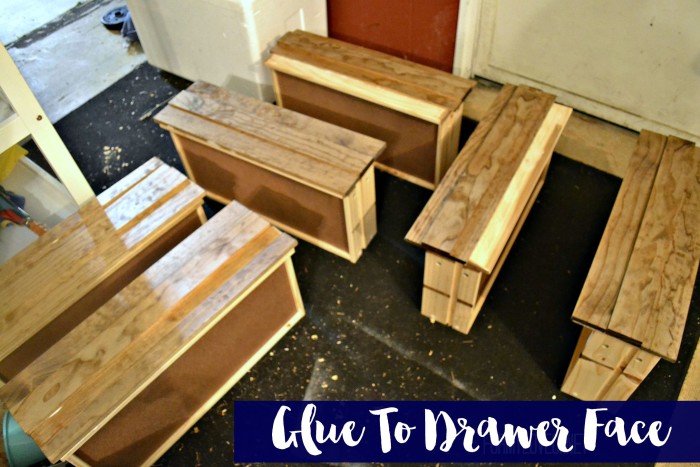
I didn’t use any nails or screws. The wood seems to be bonded pretty well. The extra weight also seems to have no negative effect on the function of the drawers. WIN!
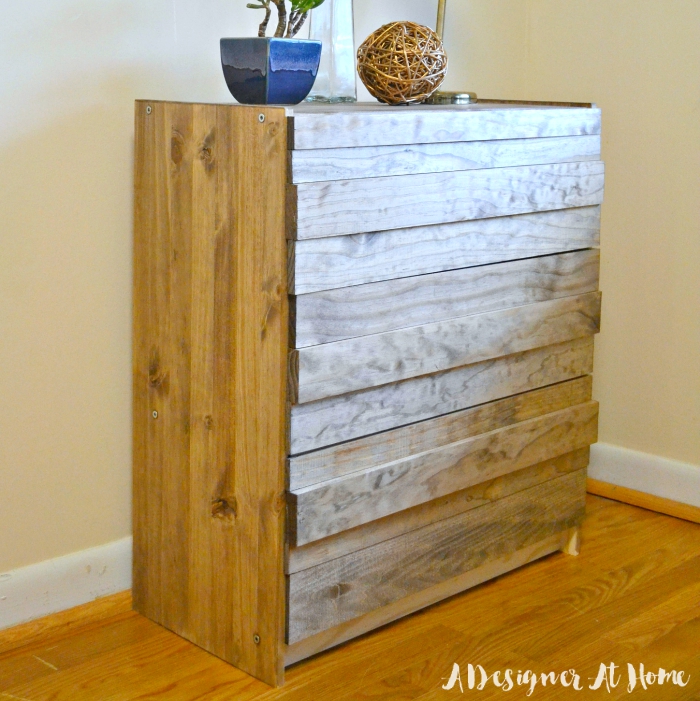
They’re great for nightstands in our bedroom because our bedroom is very small and the closet is even smaller. We need loads of little places to store things.
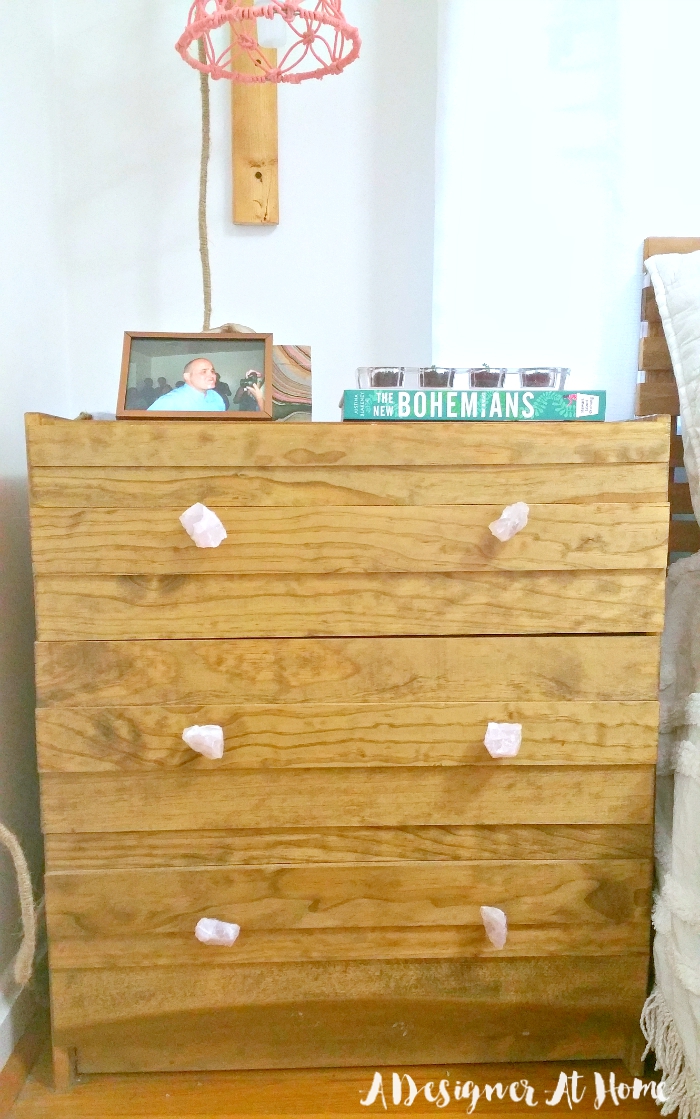
If you’re wondering about the knobs, stay tuned! I’ll have the tutorial for those up next Monday!
If you enjoyed this knock off, I would sincerely appreciate a share, like, or pin! You may just save someone a couple hundred dollars! 😉
