
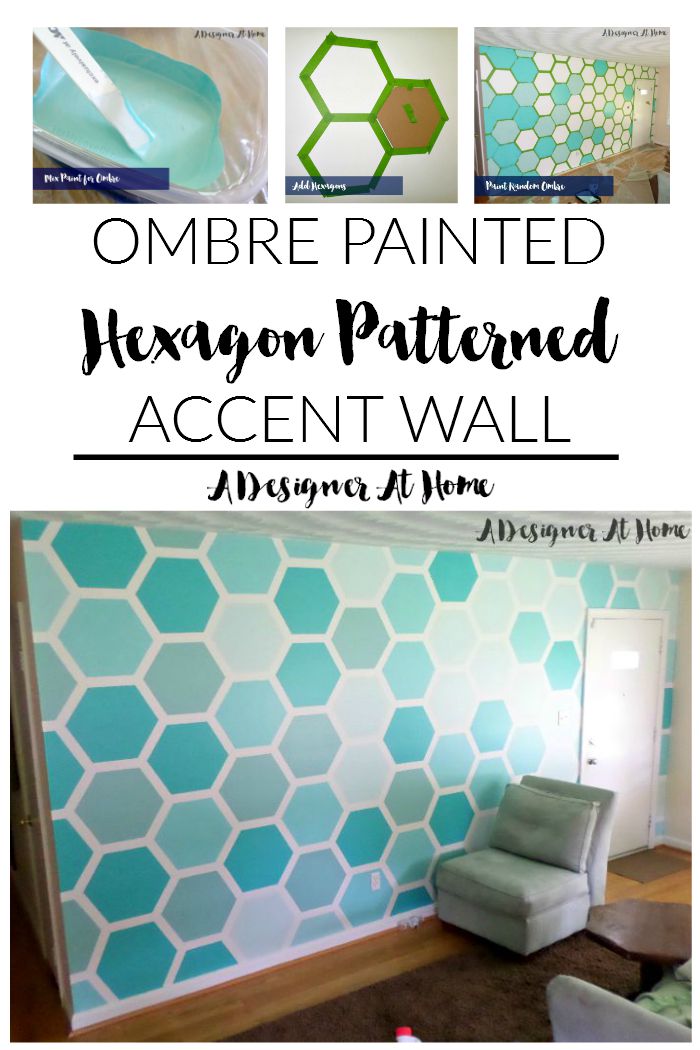
Hey Guys!
Today is a bit of a throwback post. I don’t actually have a hexagon painted wall in my Living Room. But it was one of the first big things I did in my home. I loved it and still love it. Hexagons will always be a trend within home decor. And if you love a loud accent wall, a honeycomb inspired accent wall is definitely a fabulous way to go. If I were to undertake this task again, I would choose easier to work with colors since that was ultimately what caused me to paint over it. Seriously though, you can’t get a cooler patterned painted wall!
If you’ve followed me since before the creation of A Designer At Home, you’ll have seen this on my old blog. I had a few friends ask for the details on how I created my Living Room Hexagon Wall and happily obliged with the tutorial. Since it’s been so popular, I wanted to make sure I brought the tutorial here. In this post I will show you everything from how I made the stencil (Yes! you can make the stencil!) to how I taped our the pattern to how I created and painted the custom ombre colors. I hope you’ll be forgiving of the not-so-forgiving stencil video!
For this project, you’ll need:
- Cardboard (at least slightly larger than the size Hexagon you want)
- Marker
- Pointed object ( like a mechanical pencil)
- String/Wire (something to hold the marker to the pointed object at an even distance)
- Painter’s tape
- Paint
- Painting supplies (rollers, brushes,etc.- personal preference)
- Box cutter
- Level
- Old Tupperware
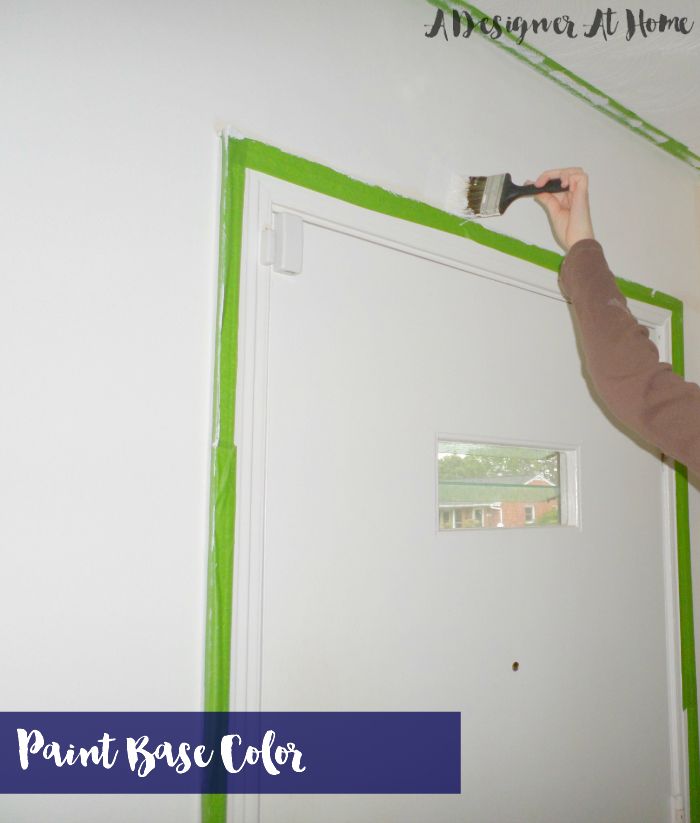
To start, make sure your wall is ready for the stencil. Color preference is personal, but make sure that whatever color you want to be the outline to the hexagons, you will want to paint the whole wall this color. Also note that if you want a dark outline, you should prime the hexagons before painting them their final color. You will need to do this a few days before painting the hexagons, you’ll compromise the final product if you don’t give it the proper amount of time to dry.
To create the stencil, something inside me felt like I should make a video to show how it’s done. There’s technically math involved, but it doesn’t feel like it if you just watch-
So to explain what I wasn’t saying- Place a flat piece of cardboard, larger than the size hexagon you want, onto a surface that’s safe to be cut on. Take your pointed object and connect it to your marker. the distance between the two is your radius- the halfway distance between the widest width of your hexagon. Place your pointed object firmly near the center of your cardboard and draw a circle around the pointed object. Now here’s some math- the radius of your hexagon is also the length of each side of the hexagon. Cool, right? So you just need to keep the pointed object and marker at the same distance and just mark that distance around the circle. Connect those marks and those are your 6 sides! Because of the nature of the string/wire, marker, and cardboard, this will not be a “perfect” Hexagon but it will be very close. Cut out the marks with a box cutter and pop out!
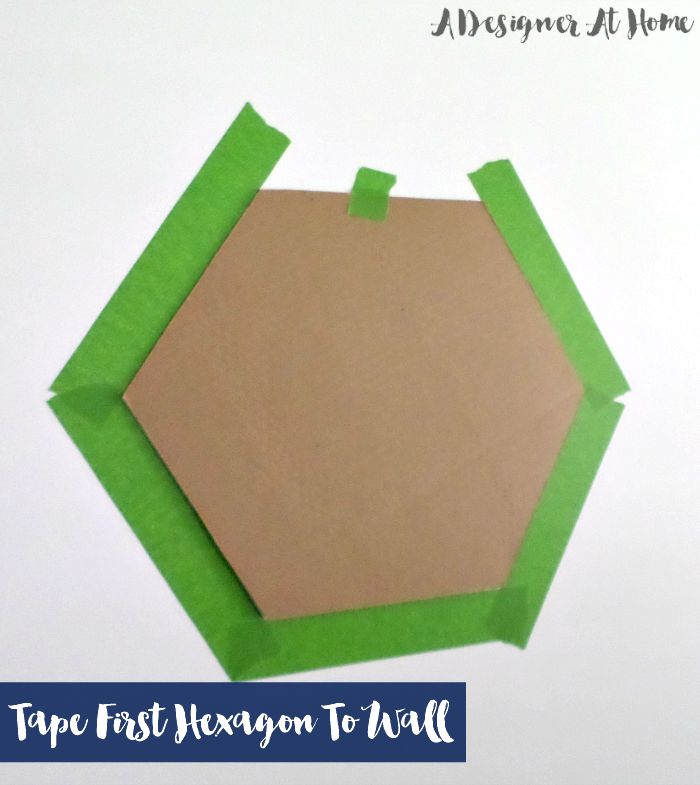
Now that you have your stencil, eyeball the “center” of the wall you’re painting. Use a bit of painter’s tape to hold it up. Check to make sure it’s level with your level. Start taping! Honestly, it’s not necessary to be precise. Start by taping around the first hexagon, remove your stencil and line it up with the first. Then tape around the second.
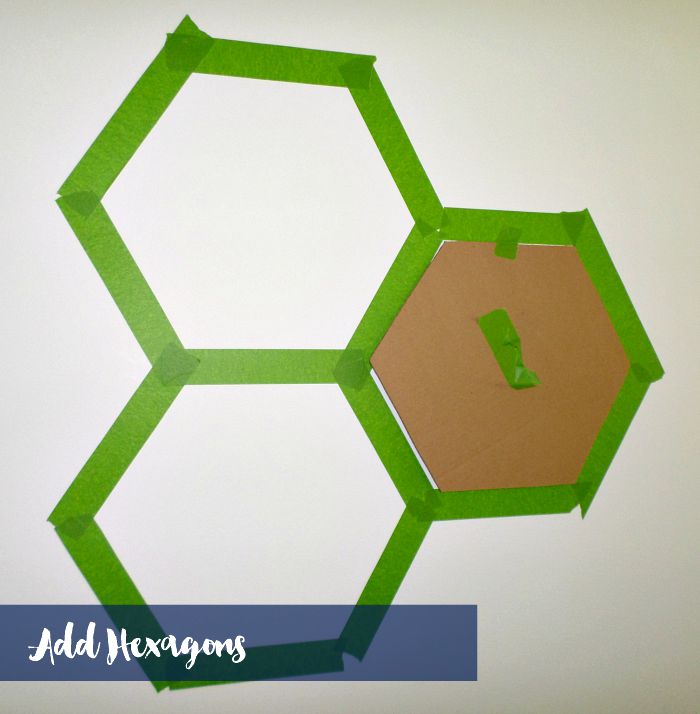
Every so often you will need to check to make sure everything is still level, just do this every 4 or 5 hex’s. Repeat until your wall is covered. Hexagons are a very forgiving shape and it’s not noticeable if there are imperfections throughout. Because of this, you can eyeball around the walls and floors if a full hexagon doesn’t line up. You can also leave those Hexagons for last and cut your stencil to fit. I did a little bit of both.
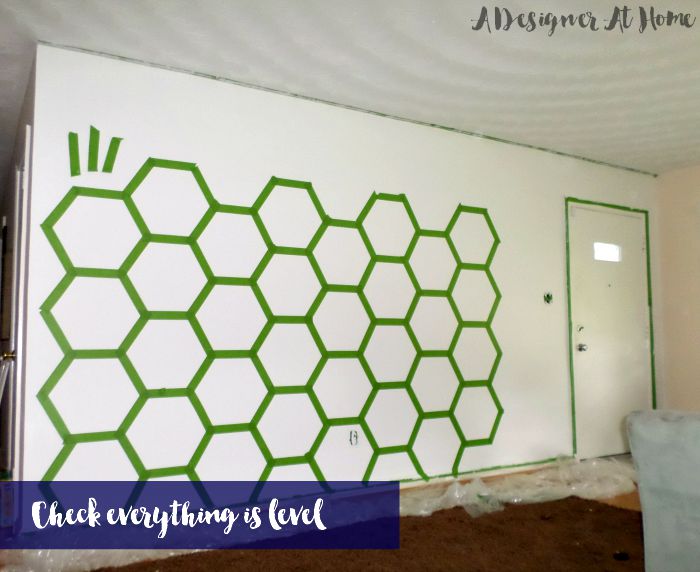
If you have walls or a doorway, work your stencil around them, then worry about fitting pieces of hexagons tightly around the frame. If the majority of the Hexagons are even and level, the slightly wonky ones will not stand out.
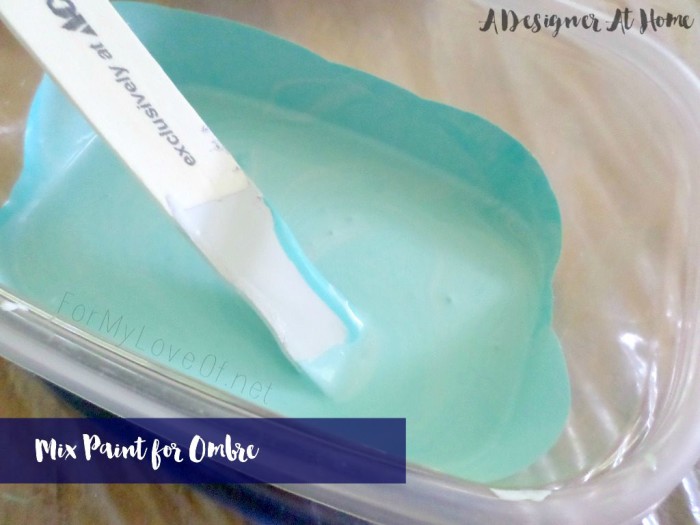
Mixing paint can be a little daunting. But it’s seriously easy and seriously fun. Start with one color you absolutely LOVE. Then keep 1, 2 or 3 other colors that mix well with it. I used leftover grey and white. Mix little by little in plastic containers you wouldn’t mind ruining. The point is to be a little ombre with it, so if you don’t have enough to do as many hexagons as you want, mix in a little more of whatever you already have mixed. It will likely be a new color but it’ll be a variation of your main color and that’s what’s important! You have to be a little nonchalant with this project, it can really turn into a tedious task if you don’t!
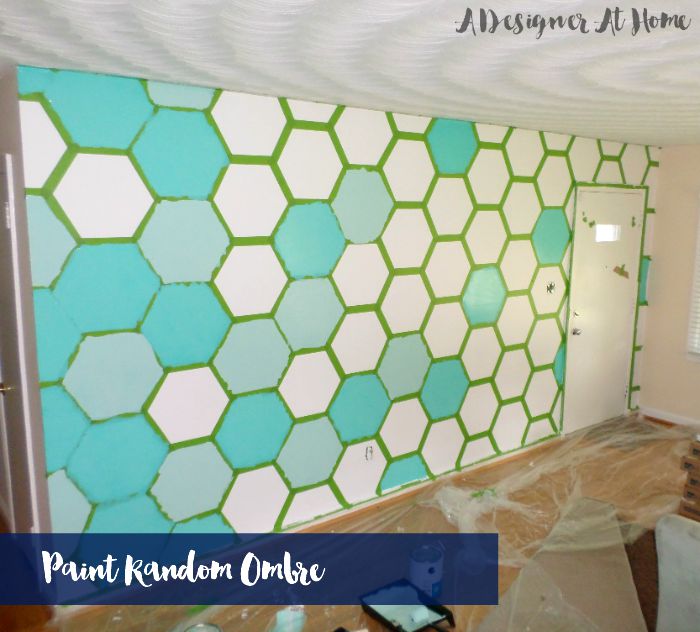
Peel off the painters tape and let the paint dry. This is the perfect time to grab a cup of coffee/tea and bask in the awesomeness you’ve created.
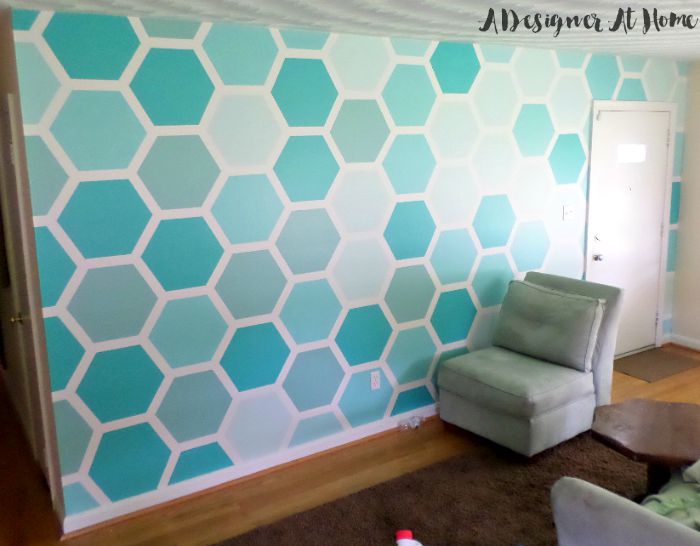
At this point you can stop and be merry, but I like to spend some time trying out a few things in front of my new wall.
If a Hexagon wall speaks to you, I hope you find this tutorial useful. I’ve tried to include as much information as possible. If you do have any questions, please leave them in the comments so I can do my best to get them answered.




Wow! So cool. I don’t know if i would have enough arm muscles to tape all those hexagons! 😀 And of course I love the ombre 🙂
Oh my GOODNESS I am so in love with this! Seriously amazing Corinna! 🙂
Thank you, Hannah! Your kind words are so encouraging!
I am going to try this!! I have tons of leftover paints!! And walls that need painting!! Did you use semi gloss or eggshell or???
I used an eggshell finish 🙂 but I mixed it with paints that were flat and semi gloss.
Lovely! 🙂 How tall was your hexagon stencil, and what is the size of painer’s tape? Tnx
It’s the 1 inch painter’s tape and the hexagons were 14ish inches big. I’ve since painted over them and I never did measure it. I would have to say 14-16 inches though. Quite big!
Hello,
I did this, it`s amazing, but I have a problem, some paint got under the tape. How did you fix it ?
Thank you !