
Hey guys!
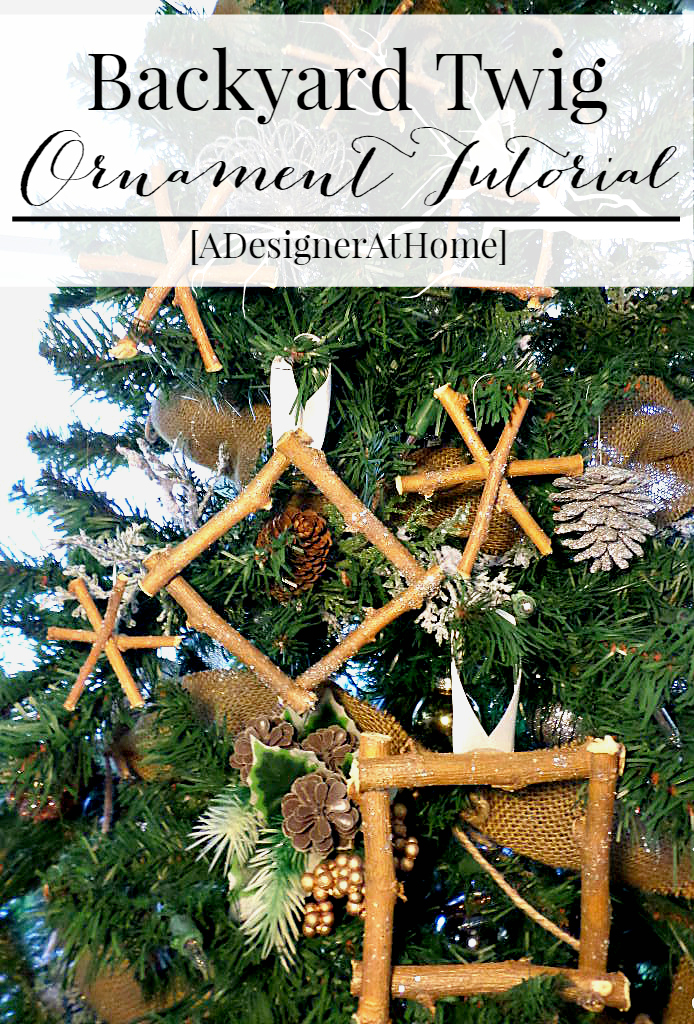
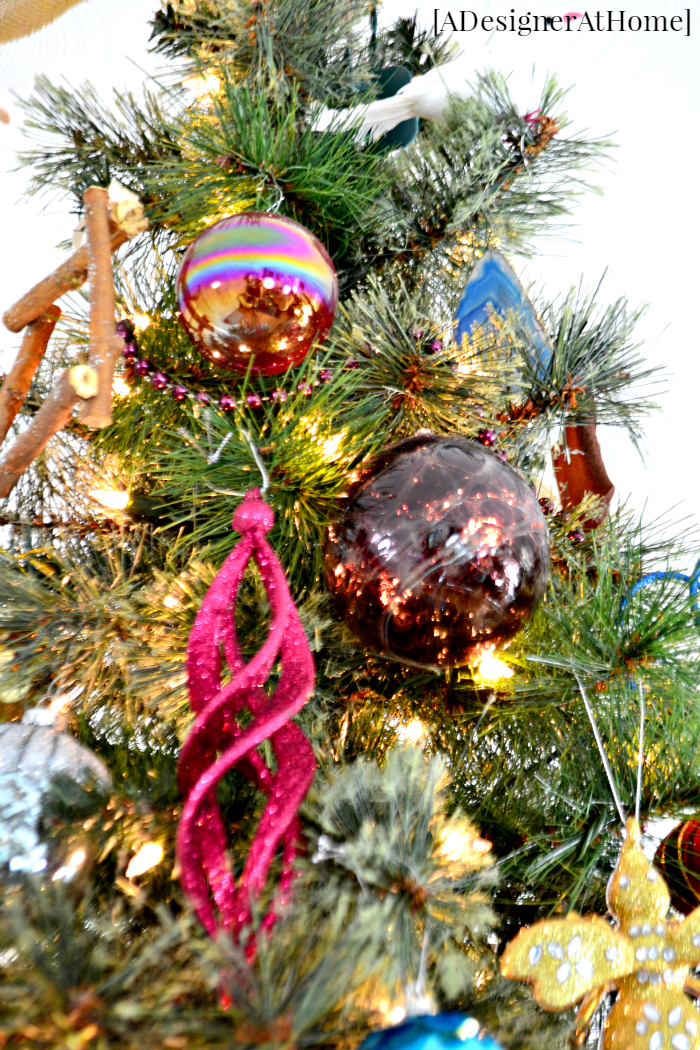
I have one more ornament tutorial for Christmas Week here at A Designer At Home. And it’s by far my favorite tutorial because it’s free if you’re an avid crafter. It was for me, at least! For a lot of us, a touch of rustic makes it way into our holiday decor and it’s just fitting for the season. There’s probably a lot of dead sticks lying about. At least here in Virginia there’s a plethora of them as the greenery dies off. I scoured the yard for sticks that had a bit of chunk to them but that would still be easy to cut by hand.
Combined with a little glitter I had on hand, spare ribbon, hot glue and spray adhesive, I was able to create ornaments that sparkle and add that rustic factor. Want a break down of how I made them? Here you go-
Twig & Glitter Christmas Ornaments
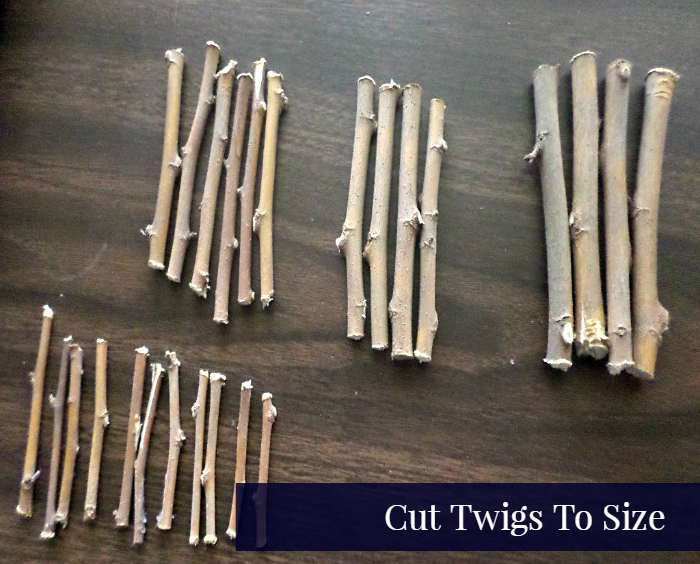
To start you’ll need a small tree branch or several twigs. Cut them down into smaller pieces.
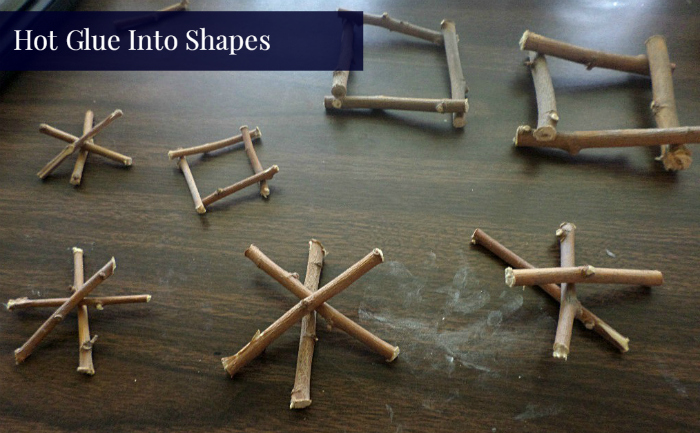
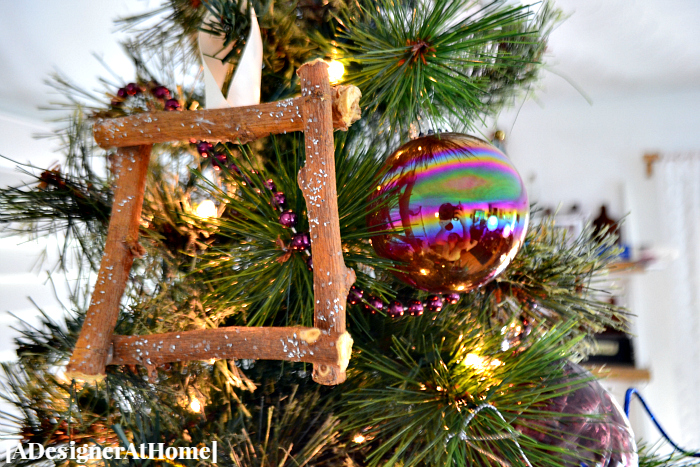
Start assembling the designs you want. I kept things simple by choosing a basic snowflake shape and picture frame shape. Hot glue your designs in place once you’re happy with them. *You can use dollar store super glues if you don’t already own and don’t want to buy a glue gun (you can get one for less than $5 though!)
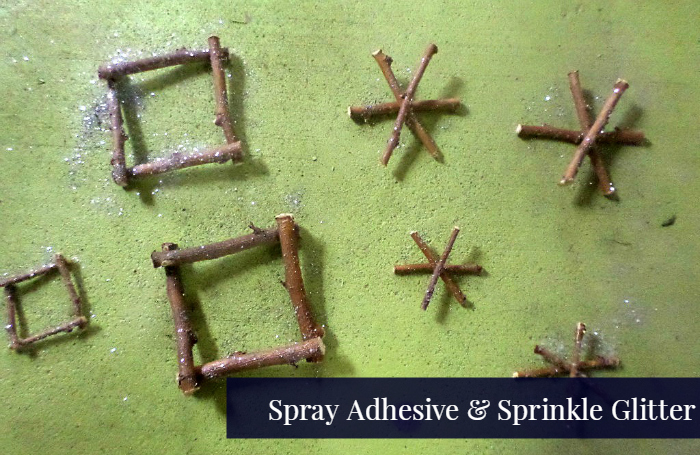
Lay your ornaments onto newspaper or any surface that can be sprayed onto freely. Coat the ornaments with a spray adhesive and sprinkle your favorite glitters onto the wet adhesive, allow to dry. *Most dollar stores have a glitter glue than you can spread onto the ornaments (the glitter is fine though and clings to a brush so you may have to do layers)
Personally, I prefer silver, metal ornament hangers versus the green ones on my tree. I always keep at least 1 pack on hand in our Christmas supplies. I pick them up from the dollar store (that’s the third dollar!). Straighten one of the ends into an “L” shape and hot glue it to the back of your ornaments.
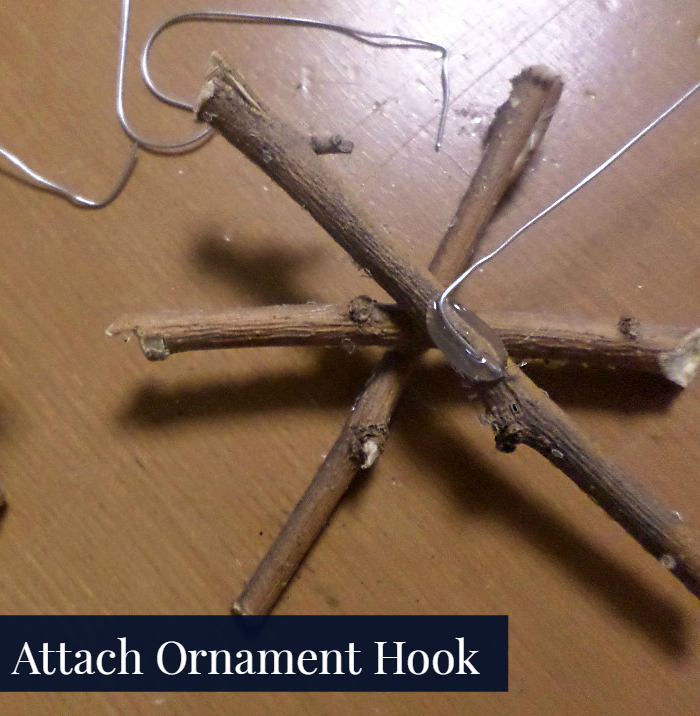
OR
Use loops of a pretty ribbon as hangers for the ornaments. Just hot glue the ribbon into a hoop and hot glue it to the back of an ornaments.
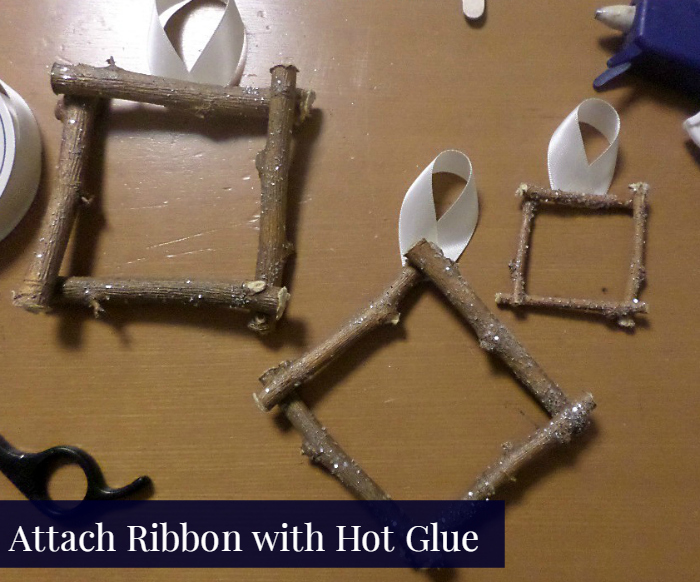
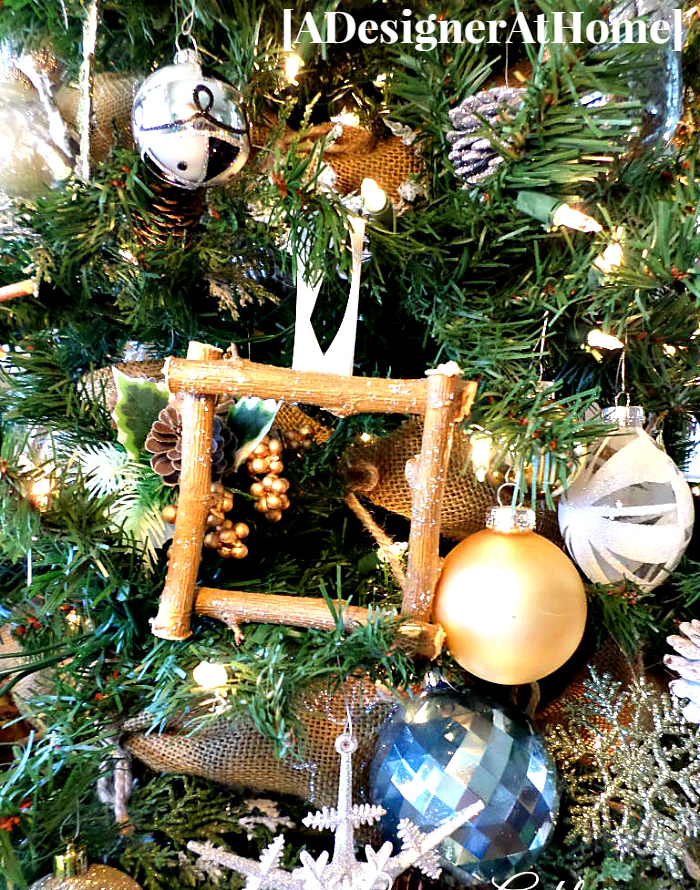
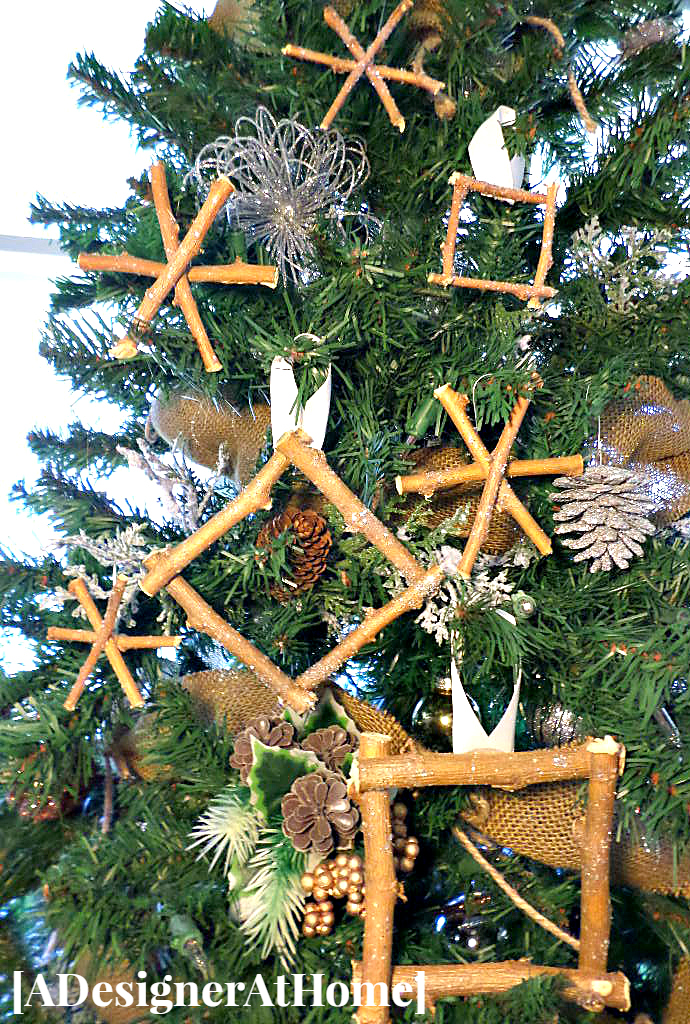
I hope you’ve enjoyed this tutorial. It’s very easy, but they end up looking so pretty up on the tree! If you like this tutorial, or think someone you know will, please share it via your favorite social media networks!



Hi Corinna,
Please let me know how you stick the corner of the square and the middle of the star?
You have a very nice post i liket it very much.
Regards,
Dragos