
Hey Guys!
One of the hardest pieces for me to decide on in a room is lighting. There aren’t many lighting options out there that I like, and even fewer than what I can afford. Short of living in complete darkness until I could stumble onto the perfect floor lamp for the perfect price to pop up and not sell within minutes on Craigslist, I had to put something in the room.
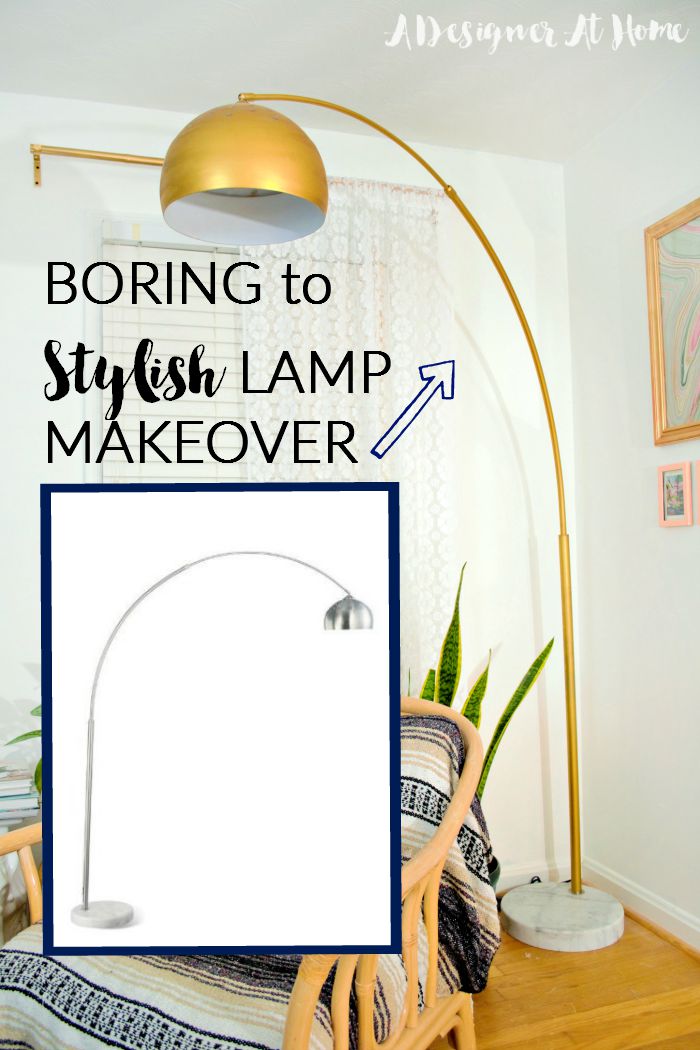
The style I’m particularly coveting at the moment are arch lamps. They’re not especially hard to come by on a budget. But the lamp shades turned me off on a lot of them. The ones I found through Walmart, Target (though Target & Walmart have gotten in better models than what was available back when I first made over my particular lamp), and IKEA all has fabric shades and it wasn’t the style I wanted. The one I ended up settling on was this one from Amazon.
I wasn’t thinking a whole lot about the brushed nickle finish of the lamp. Once the lamp had lived in my living room for a while, though, I realized the finish wasn’t going to work for my decor. I needed a warm leaning metal, and who doesn’t love gold at the moment? Nobody, that’s who.
So I toyed around with the idea of spray painting it, but I’m a lazy spray painter and didn’t want to live with the paint drips and flaking because I didn’t prep properly and I didn’t want to take the lamp apart either. Then just a few months into this dilemma I came across a View Along The Way’s tutorial for saving a garage sale lamp with rub n buff. I’d never used the product but if it worked for her, I was going to make it work for me.
I was aiming for a finish similar to either this Alto Sconce from Cedar and Moss,
Or this Modo Table Lamp form Matter Matters.
I ended up going for the rub n buff method for a lot of reasons- spray paint inherently hates me, things I spray paint normally don’t wear well, and the finish from the View Along The Way inspiration post looked exactly like what I’d hoped for.
Here’s How I Made It:
Supplies:
- Rub ‘n Buff
- Inexpensive Lamp
- Small Sock
So if you’re familiar with how to use Rub ‘n Buff, you probably won’t need me to go on any more. Just be sure to leave me a nice comment before you leave 😉 If you aren’t familiar with the product, like I wasn’t familiar with the product, then keep on reading for my process.
I actually snatched one of my 3 year old’s sock since I knew it would hug my hand better than a larger sock. That and my husband is tired of me stealing his socks for staining wood, so I figured I’d give his socks a rest this time. I focused the product onto one fingertip and massaged the product onto the surface.
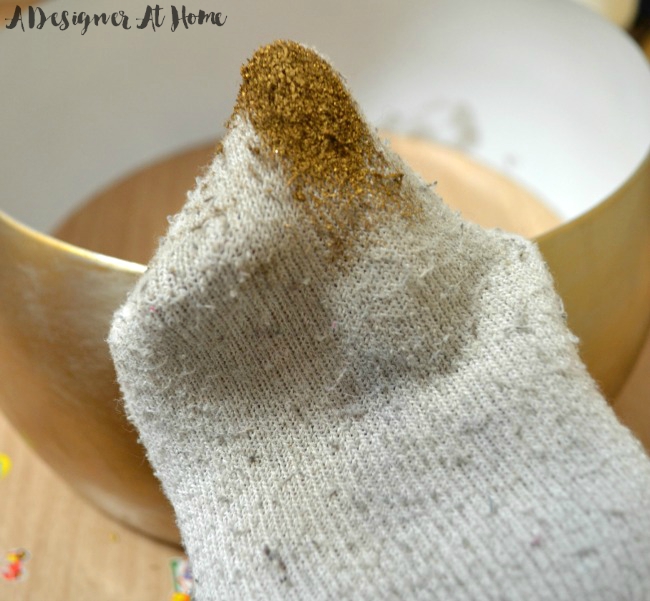
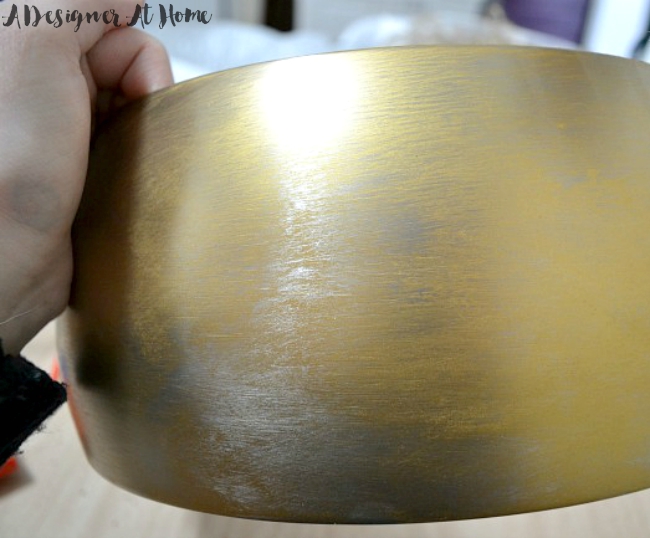
I found it best to be easy with the amount of pressure otherwise I was simply wiping the product away. Work in thin coats, allowing the wax to harden in between applying more. Again, I found I just wiped the product off the lamp if the layer beneath wasn’t hard yet.
I think getting opacity was the most frustrating part of this process. It’s not difficult, so don’t let me deter you from attempting this. But the tutorials I’d read using this product before gave me the impression that the stuff lied down more opaque than it did. So keep that in mind as you work and apply the product in layers.
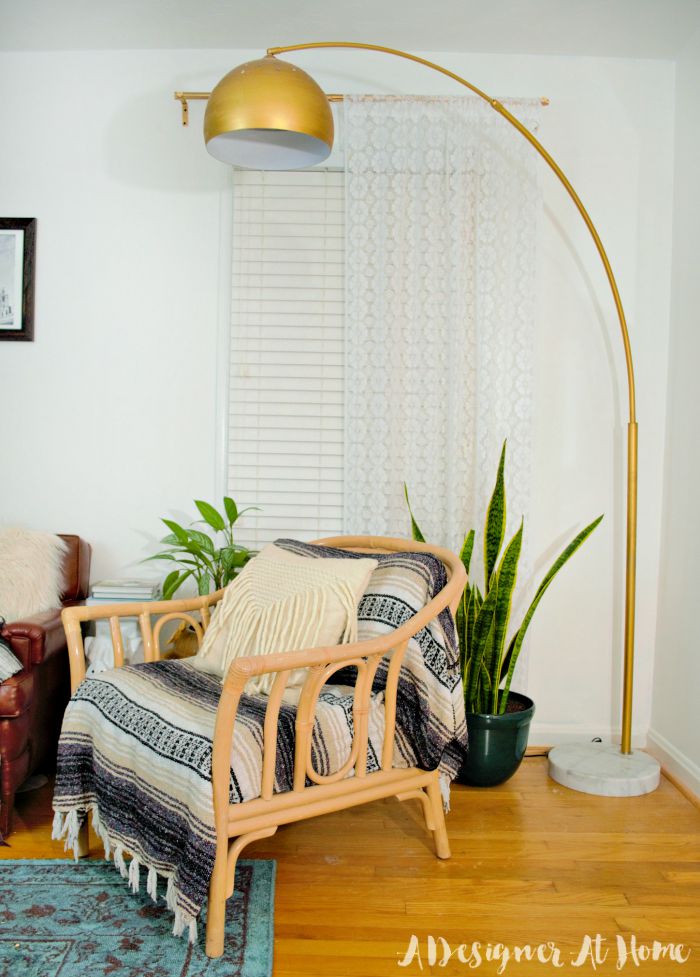
The finish is perfect, but the color is way more yellow than the swatch made it look. I wasn’t sure at first if I hated it or loved it, but now that it’s been in my home for a while, I love it.
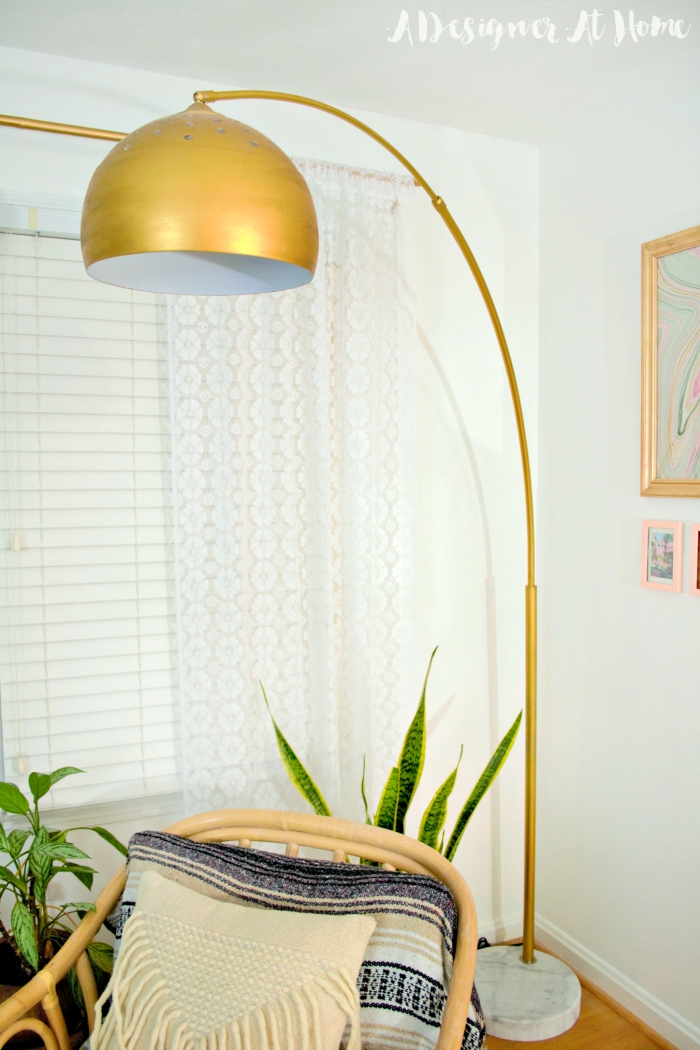
The gold suits the space so much better now though, and feels more luxurious than the cheap lamp that it once was. I’m really diggin’ how the gold plays against the white walls and wood tones in this space.




It looks fantastic, nice work! It’s amazing how a new finish can totally transform something.
Thank you, Sage!
Thanks for this idea! I looked at the Rub and Buff product and there are a few different “golds”. Which did you use and what would you recommend if I wanted it more brass colored?
Thanks!
Karen