

If I could narrow down my obsessions to just two things that I could translate to a Valentine DIY, it’s be my adoration for all things Turkish and moroccan wedding blankets. Since about the age of 11, I started becoming fascinated with the textiles, architecture, customs, and decor that come out of Turkey and that region of the world. I had a Turkish penpal at the age of 12 and the fondness has grown more and more for the country, it’s history, it’s culture and it’s people. Last year I started studying and learning the Turkish language so I wanted to incorporate that somehow in this project. And the later obsession, moroccan wedding blankets is quite simple. They’re beautiful and textural and I love their story.
Originally I’d thought of taking on the ridiculous idea to add Turkish terms of endearment spelled out in sequin trim in a Moroccan wedding blanket inspired pillow. The further into the project I got, the more I realize it would work a whole lot better if I kept those two focuses separate. So in this post, I’m sharing the tutorial for how I made my handira inspired pillow. I’ll share the other project as well as projects from two of my very good friends at the end of this post.

If you don’t know much about moroccan wedding blankets, here’s a little back story: Moroccan wedding blankets are traditionally called Handira and even Tamizart in some places. Most involve the use of patterned bands, with talismanic symbols, and sequins, sequins thought to ward of evil spirits. The blankets are usually started when the daughter is young since they are time consuming to make. It’s part of her dowry for when she weds. Tradition is fading though as the blankets become more and more of a fad with demands from the outside world for them to be made. Many families sell theirs because authentic ones catch a bigger payout than newly made ones for resale.
So now that we know their place in the world of love, now you know why I’d immediately think to incorporate the craft, or rather the look since I won’t be replicating any traditional techniques here, in a Valentine DIY.

This tutorial will take you through the steps to create a 16 inch pillow with an envelope enclosure.
1. Cut Trim Materials To 17 Inches
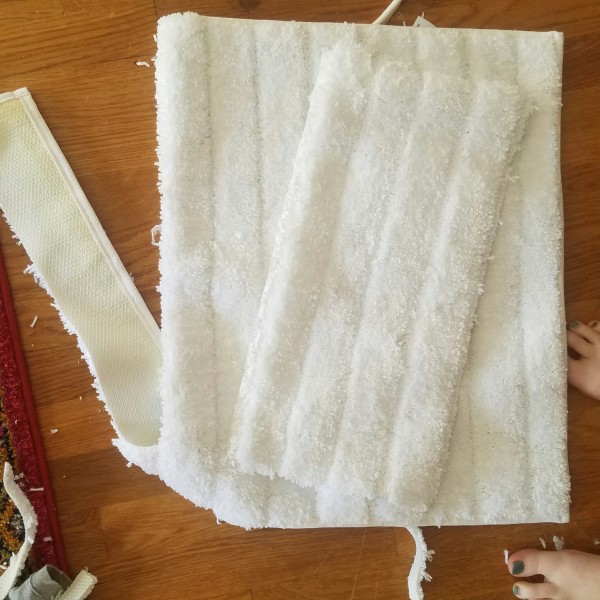
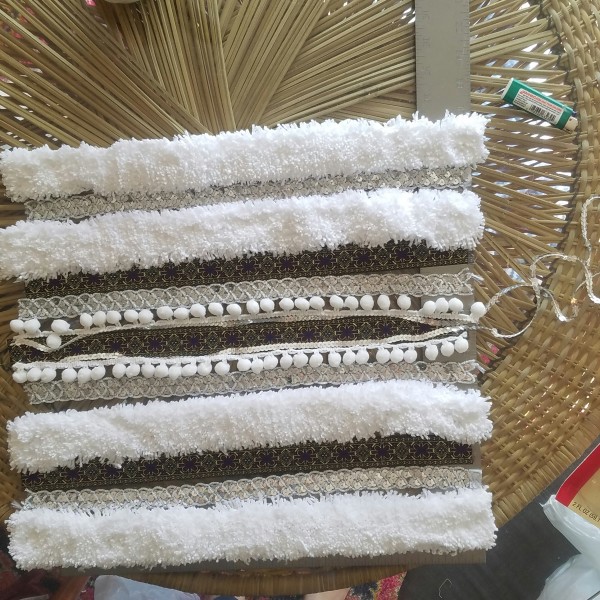
2. Cut One 17 Inch Square Piece of Fabric and One 17 Inch Wide By 22 Inch Long Piece of Fabric
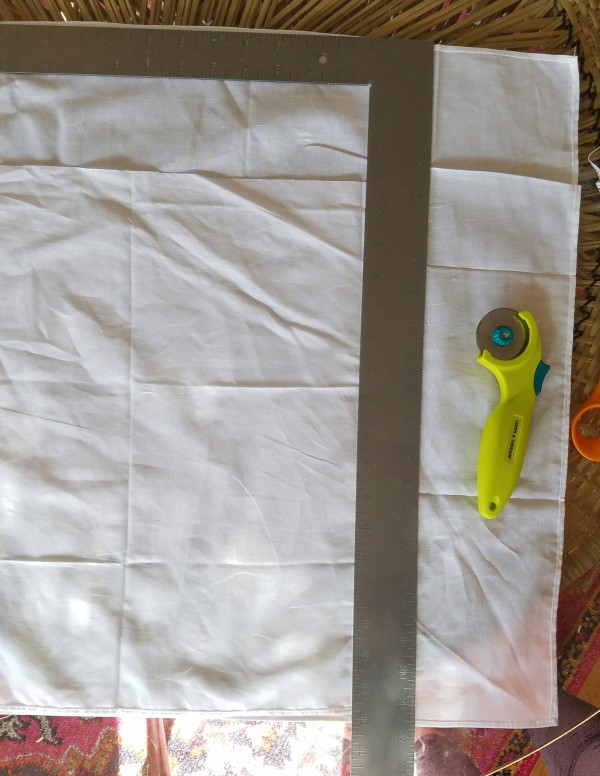
3. Cut 22 Inch Long Piece In Half
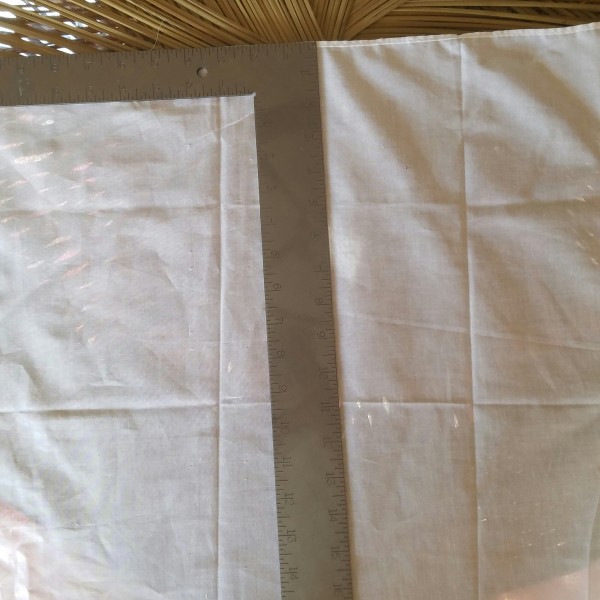
4. Dry Fit Trim To Perfect Arrangement- Leave Half Inch At Top And Bottom
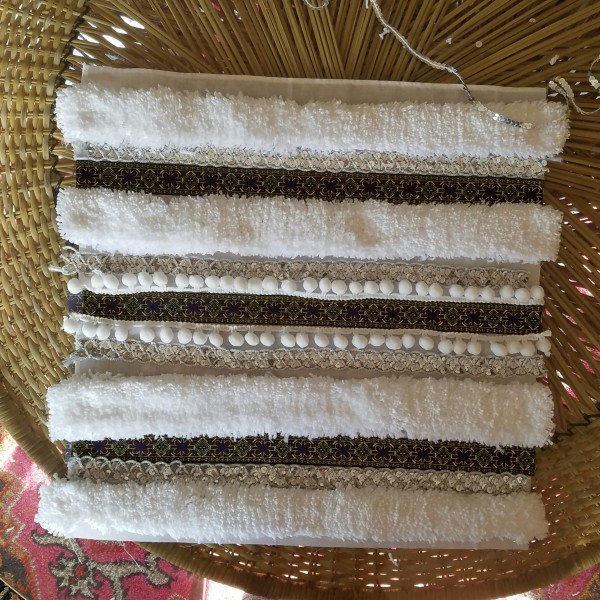
5. Use Liquid Stitches To Adhere Trim To 17 Inch Square Fabric
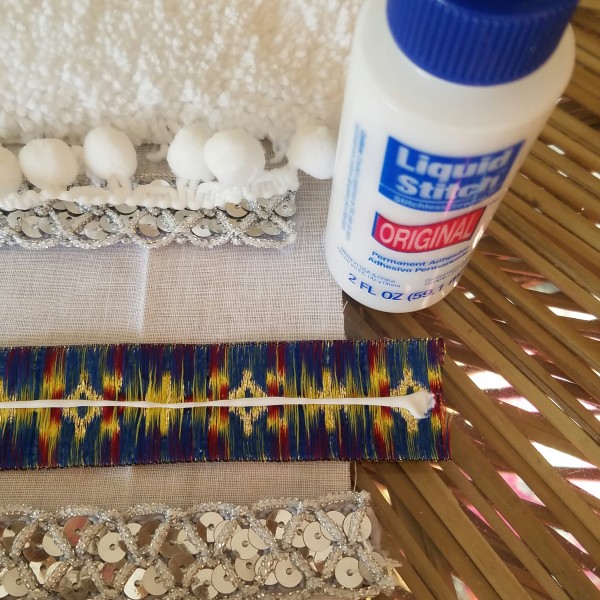
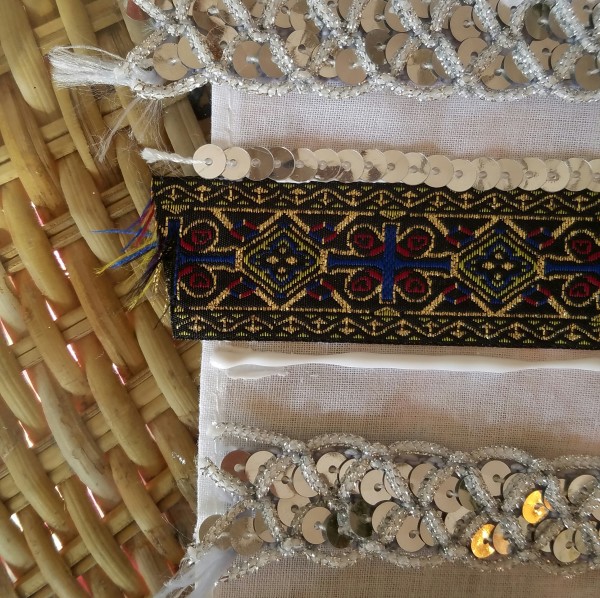
6. Place The Two Pieces Cut In Step 3 Overlapping To Fit Over 17 Inch Pillow
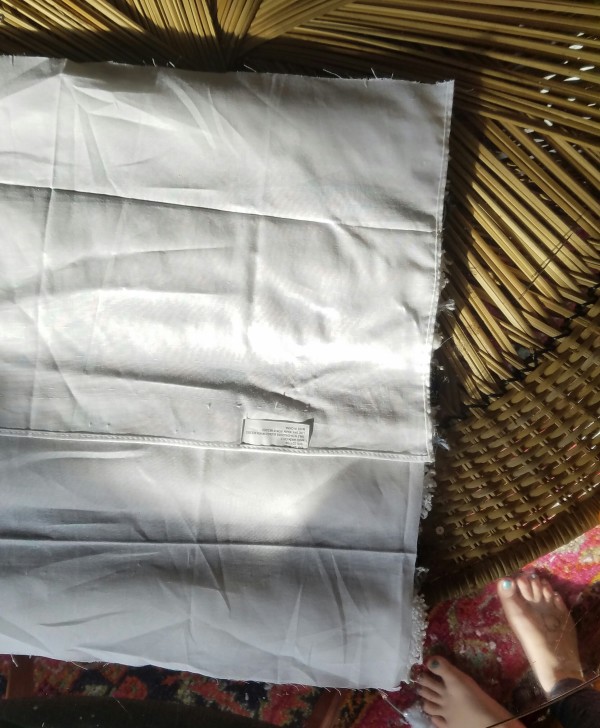
7. Use Embroidery Thread And Needle To stitch The Pieces Together

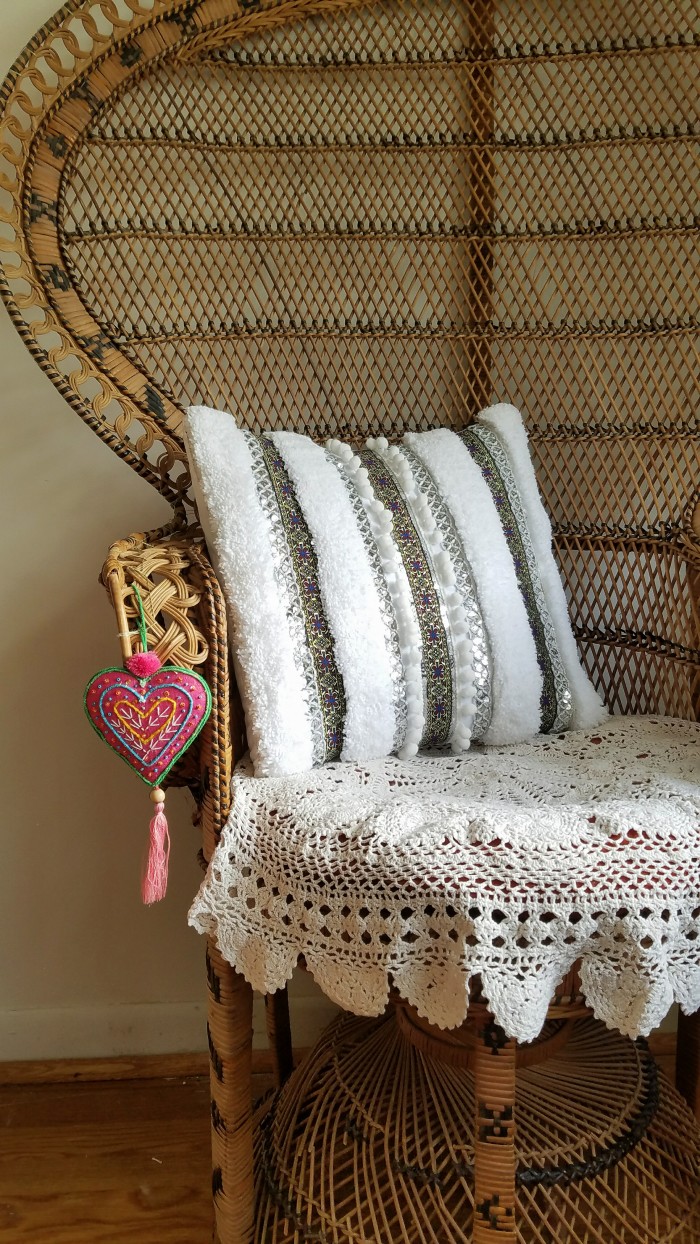
The glue I picked up takes 30 minutes to dry. But I’ve picked up some before take 24 hours. So be sure to pay attention to that! You can make your pillow match your style. Just look up Moroccan wedding blankets on Etsy to get those creative juices flowing. And… here’s how mine turned out!
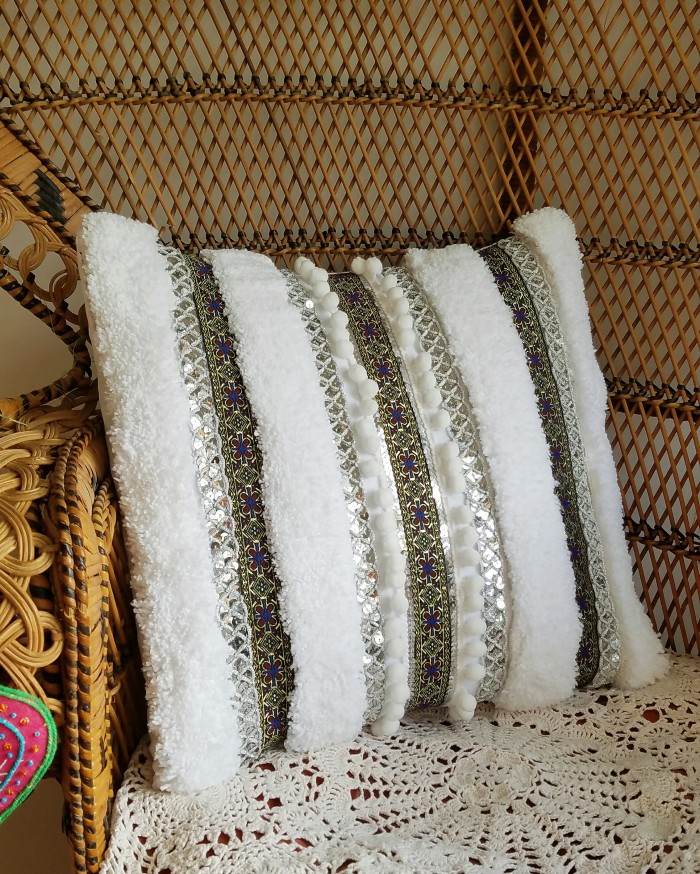
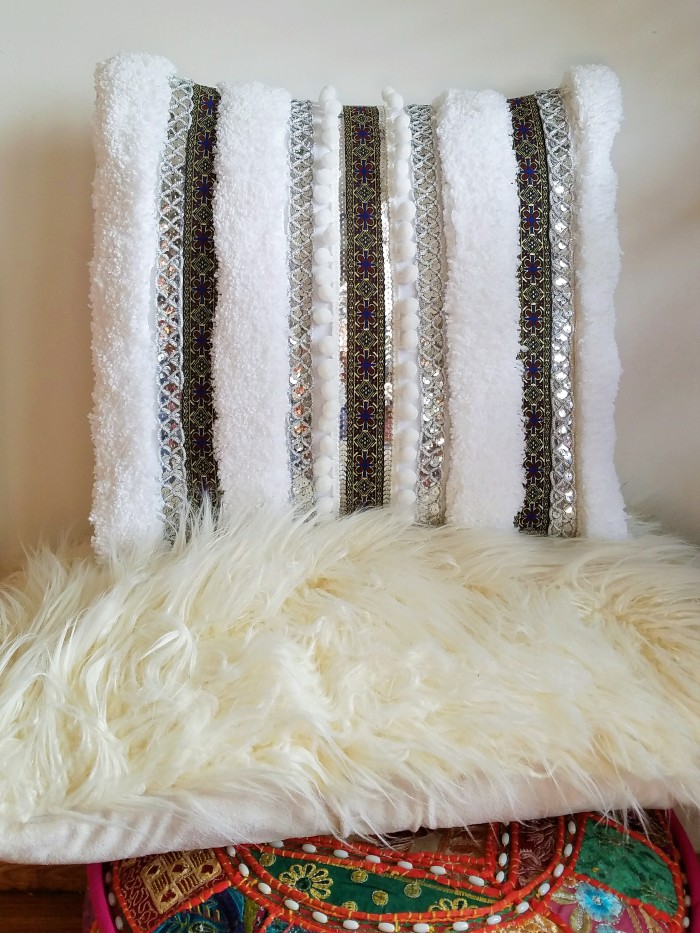
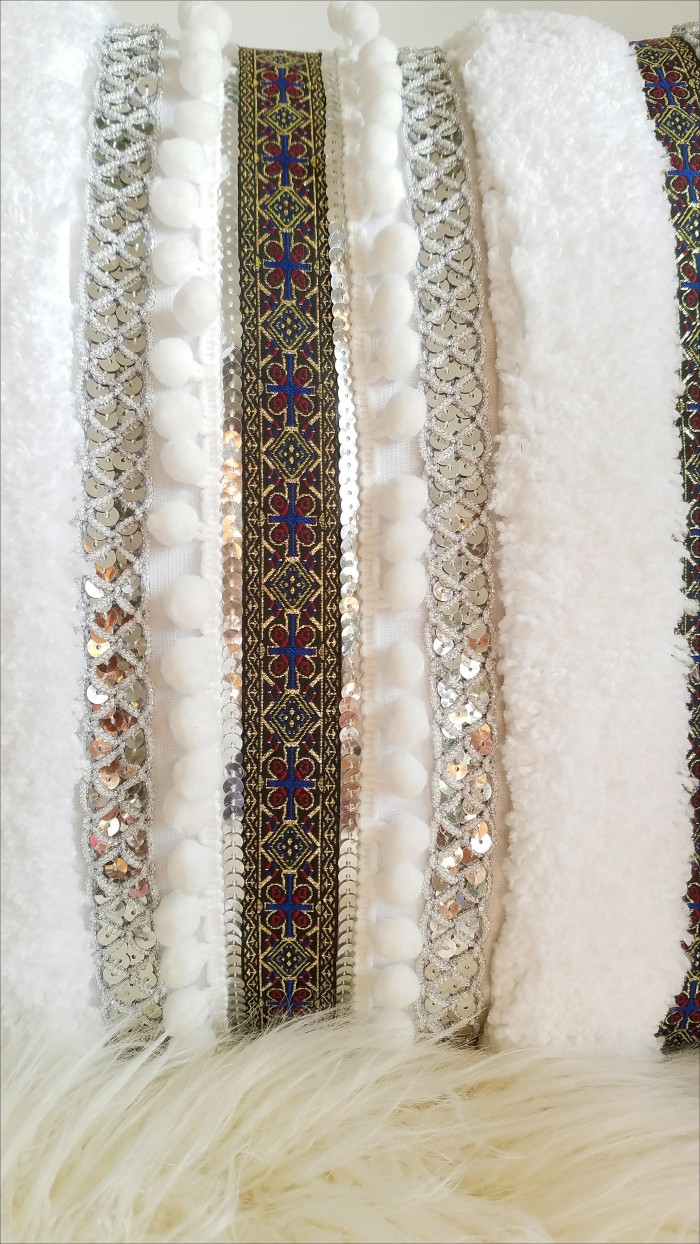
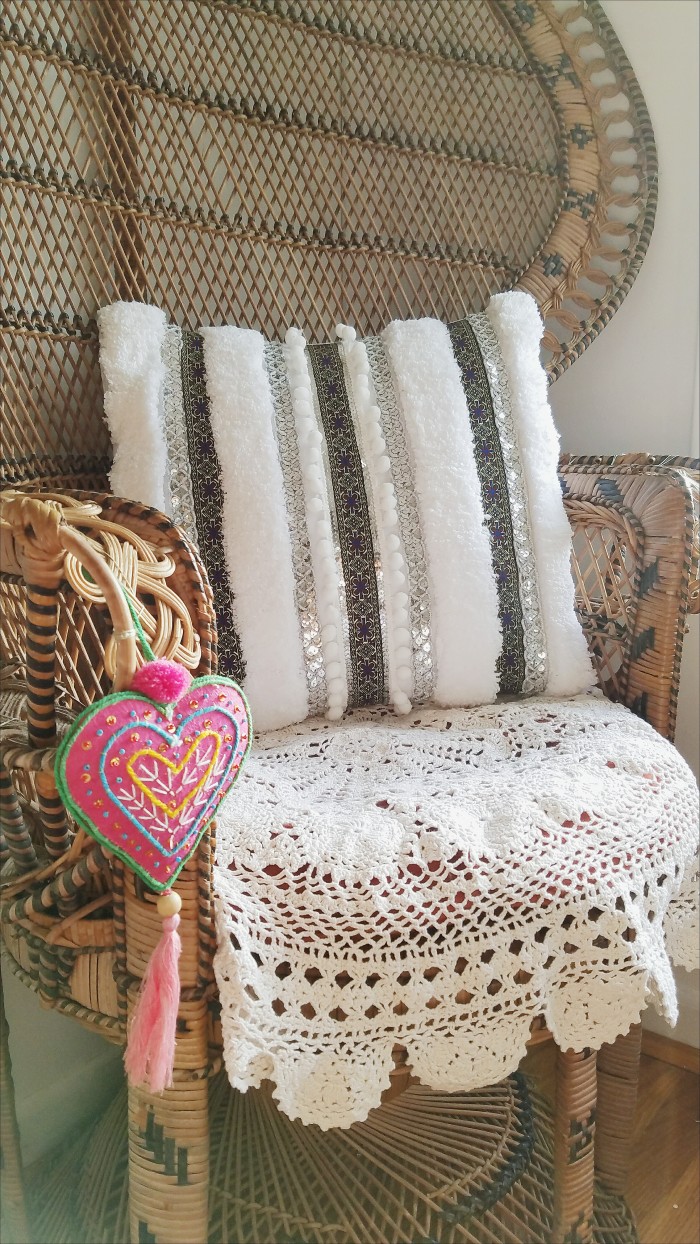
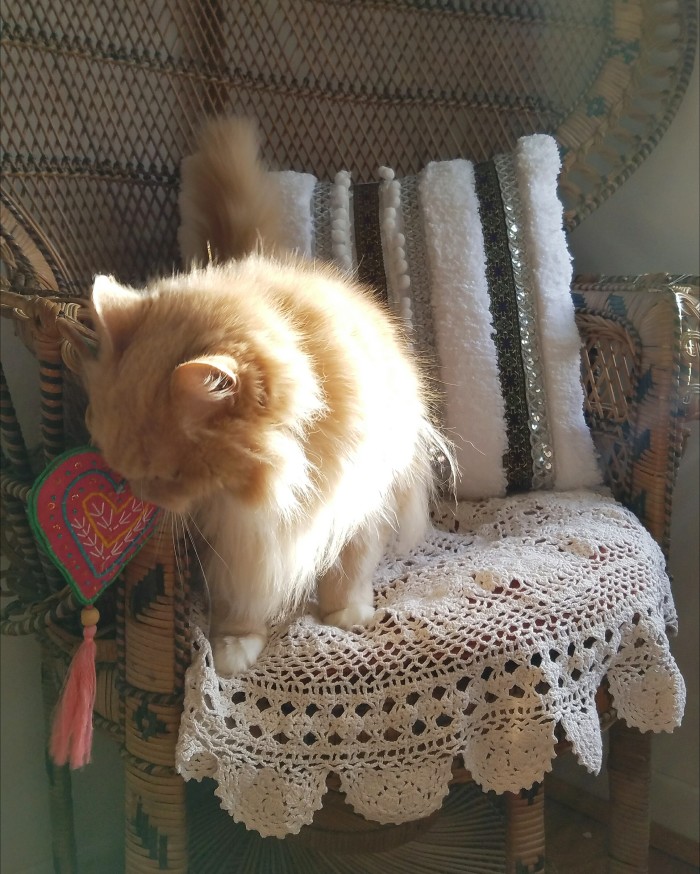
Fun, right?! My son has already claimed it for himself. #momwin
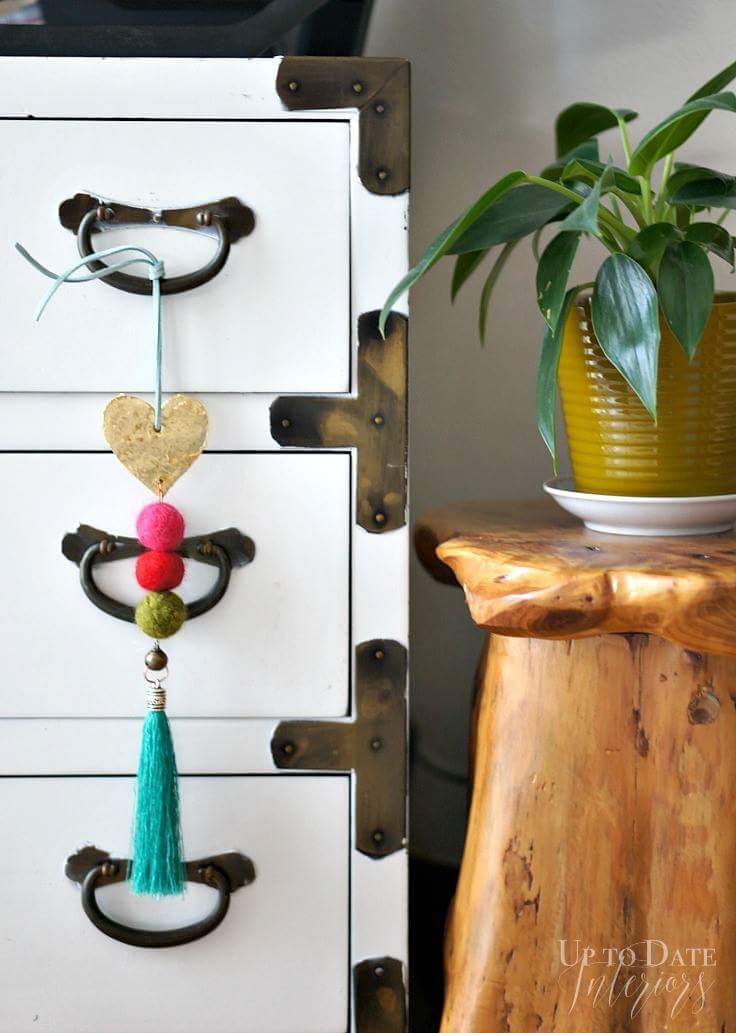
This tutorial is a collaborative post with two of my friends, Stephanie of Casa Watkins Living and Kathryn of Up To Date Interiors. Here are their two globally inspired posts!

DIY Scandinavian Inspired Vase With Tape
Global Eclectic Doorknob Hanger
Free Turkish Terms Of Endearment Valentine’s Printables





this turned out so well, corinna! love it!
Oh the trim on this pillow is gorgeous! What a beautiful DIY. I’ve always loved the texture of Moroccan wedding blankets and enjoyed reading about the history.
This is so pretty! I love all of the texture!
Brilliant! This is awesome, Corinna!!
Absolutely lovely pillow. What a creative idea. Thanks for sharing. Pinning
What a beautiful end product! it looks so cozy!
This turned out beautifully! I love all the texture.