
Hey Guys!
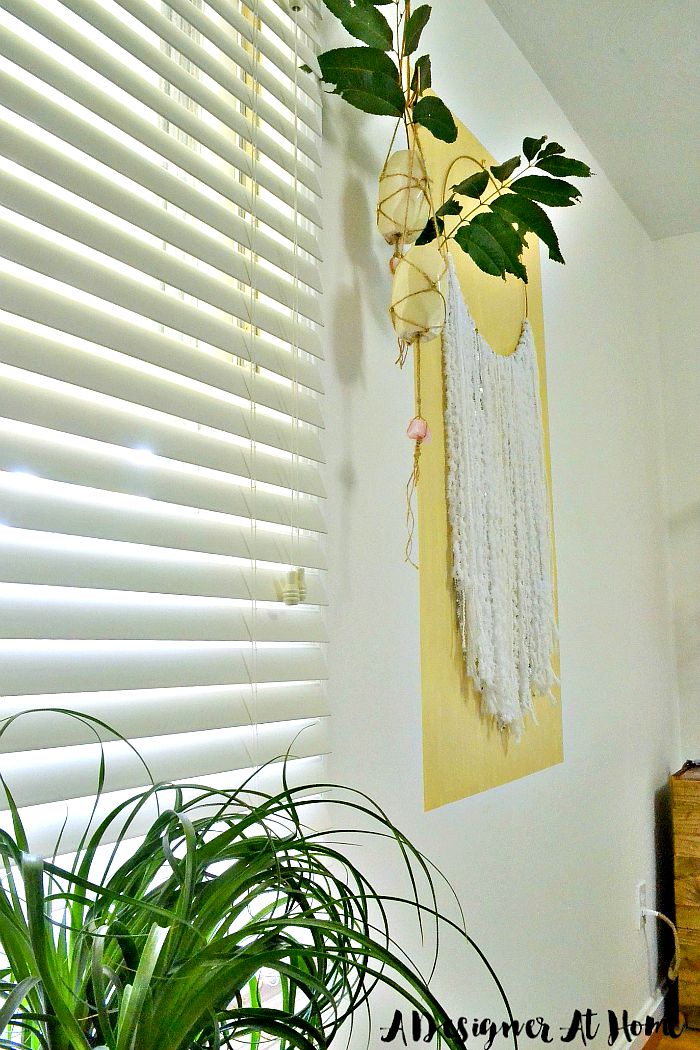
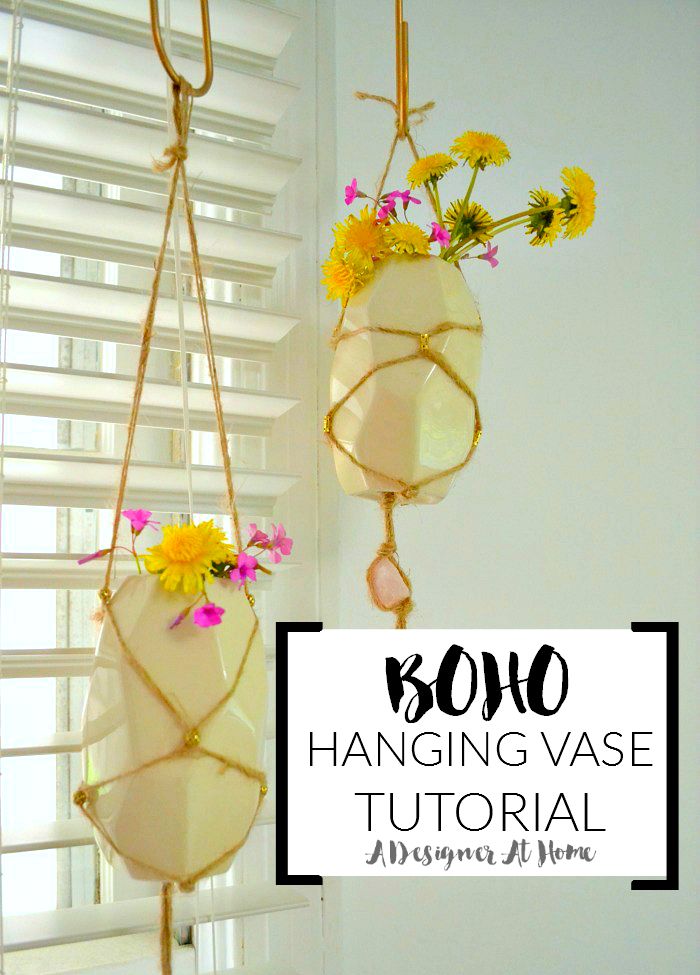
It’s important for me to have plants in my home, but I also think it’s really great for everyone to explore different options in adding greenery to their own home. I’d like to share one of my favorite options with you today for hanging small clippings of flowers or clippings from your other plants to propagate or just to display. Hanging planters are my favorite and this one today is a small vase and can be used with water or soil.
What You’ll Need:
geometric vase, jute twine
, gold beads (or any color that fits the twine)
, hot glue gun
, optional: Stones/rocks
/crystals
How I Made It: Boho Braided Hanging Vases
I found a fair of the Nate Berkus cream colored geometric vases on a Target clearance end cap a while back. When one finds cute vases for less than $3, one must pick up those vases. If you aren’t lucky enough to stumble onto Nate Berkus vases, no worries, there are loads of ways of getting an interesting look like bigger/funner beads or paint/vinyl treatments to a basic vase. So get creative and work with what you have or what you can find. Give them a good wipe down and pull off any visible stickers.
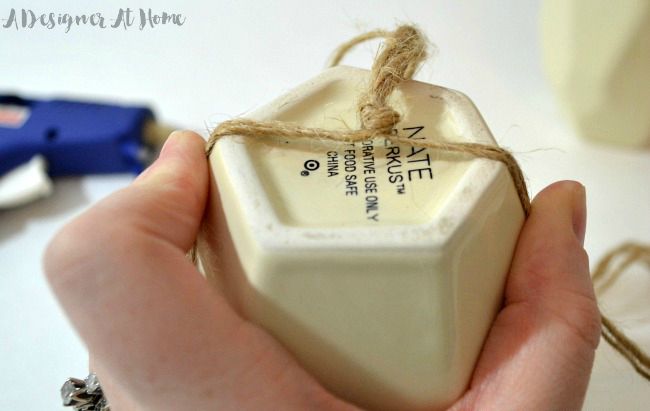
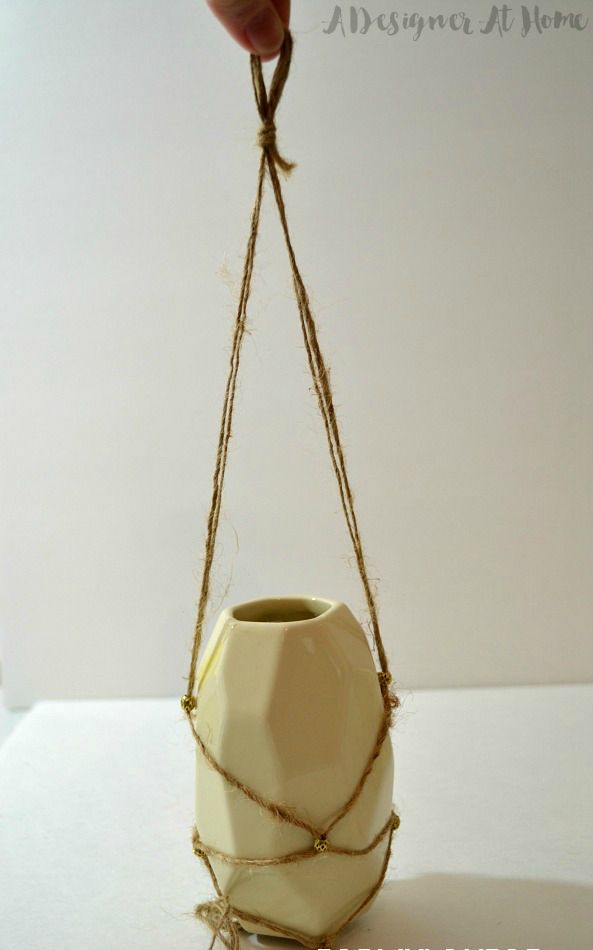
Next we’ll need to cut lengths of twine. I used lengths about as long as tip of right hand fingers to left shoulder. I could dig out a tape measure to figure that out but it could take a few hours for me to find it, so I’ll carry on with that vague measurement. Cut 4 equal lengths and eyeball about where you’ll want the bottom of the vase to rest, taking into account that with any braiding, crossing over, and knots you’ll lose a few inches of top length. Go ahead an tie an overhand knot for the base.
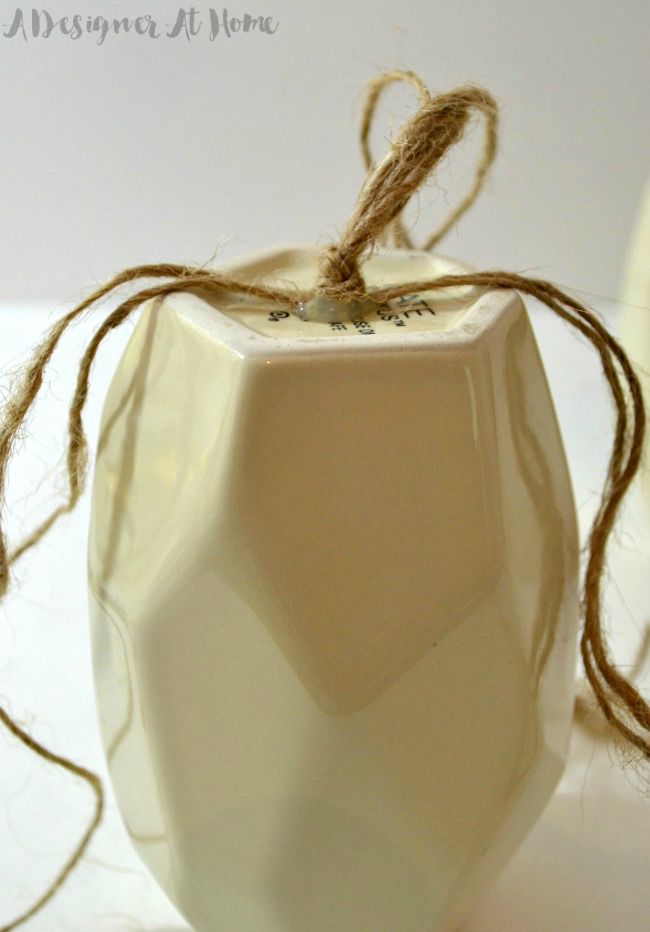
Now, this step is basically the cheaters way to creating a fast hanging planter when working with a solid base like a vase. You can hot glue all the knots and beads so that when you go to pull/tighten for the next step, everything stays in place. Glue the knot to the center of the vase.
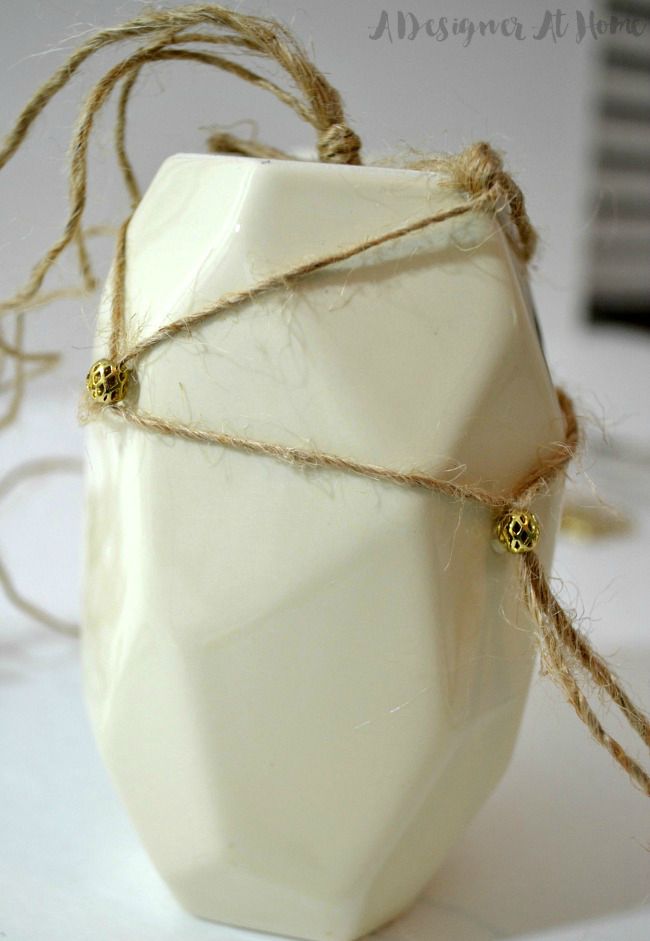
Then take two pieces of the twine to opposite sides of the vase and tie them into an overhand knot at the edge of the bottom and hot glue in place.
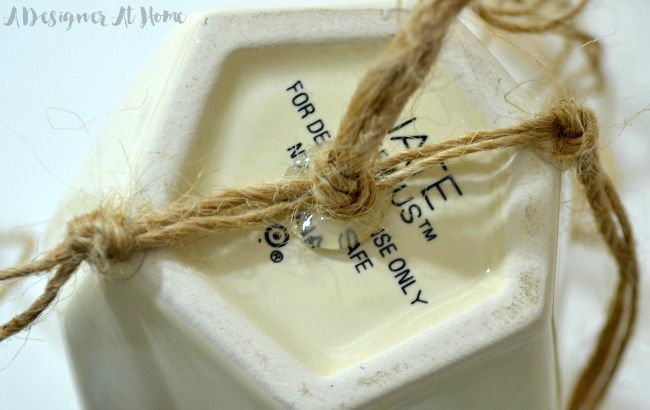
Then take one string from each knot and slide a bead onto them. Once taught, place a dollop of hot glue on the back of the bead and press onto the vase. Do the same with the other side. Keep separating the strings and sliding beads and hot gluing in place until you’ve reached near the top. I didn’t go all of the way up because I wanted a bit more space between the strings when it hung for the plants to peep through. Tie the top of the strings into an overhand knot.
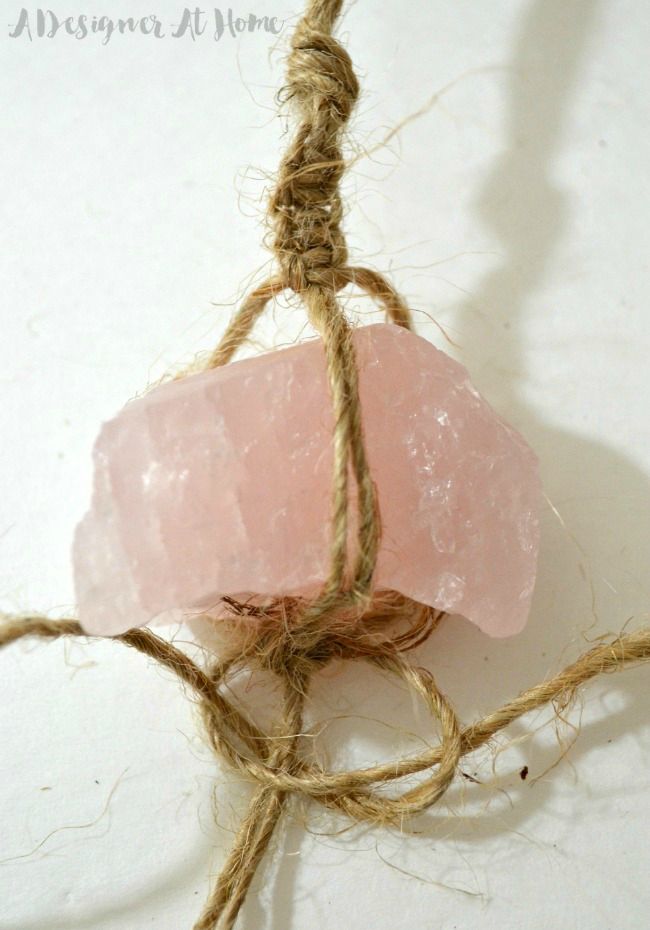
You can leave the twine below the first knot free, or you can work a crystal into it. Simply tight a knot, spread the twine to go around either end of the stone, then tie another knot. Or you can work in square knots for some extra fun.
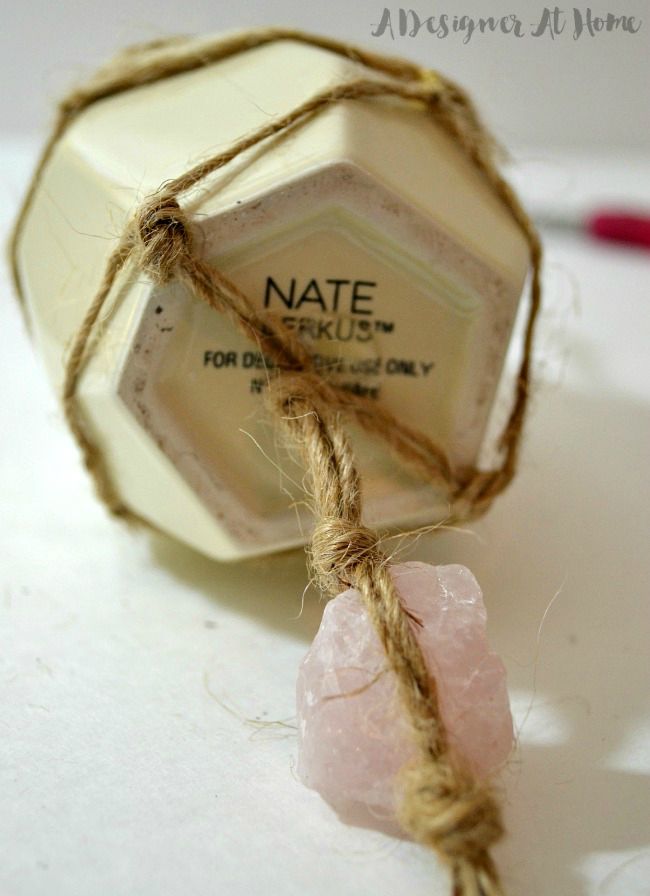
Use simple plant hooks and hang from… whatever!
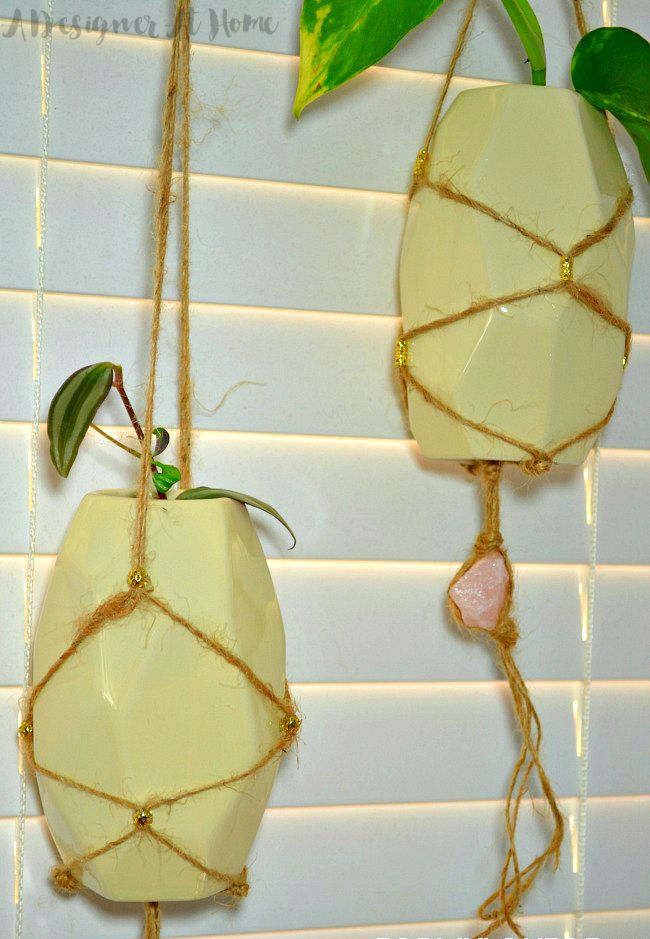
I hope you’ve found this “how to” to be helpful and inspiring. Leave a comment with any questions or feedback (I love comments!) and give this post a share (this helps me out a ton!). Have a wonderful day & enjoy creating 🙂


i love these! they are SO fun! and so you!
This makes me happy, Cassie. Thank you so much.
So cute! LOVE the crystals at the bottom! I agree with Cassie – so you!
Such a cute project!
Thanks Jennifer!