
Today. We Talk Macrame.
I feel like this needs a more dramatic intro. It’s friggin’ macrame! An iconic craft form that’s lasted generations. From wall hangings, to planters, to lampshades to whatever. Macrame is an easy art form to get the hang of. I self taught myself how to macrame. If you grew up making hemp jewelry, you can self teach yourself how to macrame, easily! A lot of the same knots apply.
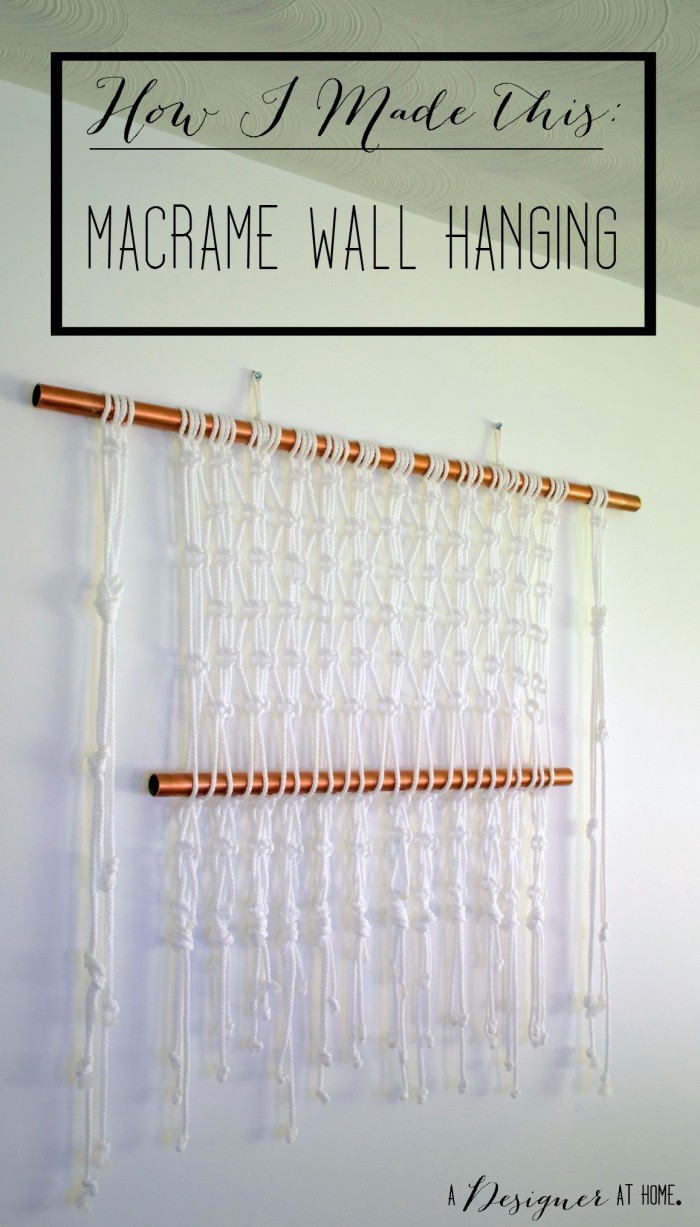
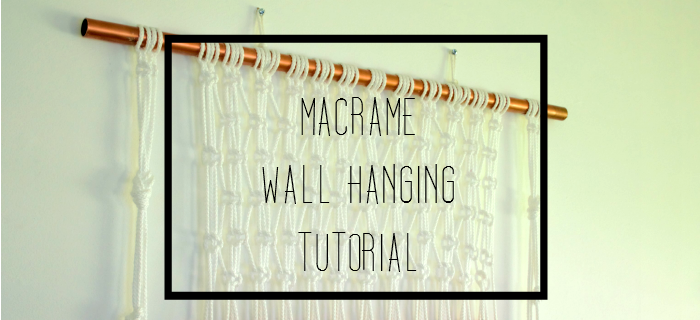
As I catch you up on the rooms of my home that have been decorated, I’m also going to go through how I made any of the pieces that I DIYed. I have a rather large macrame wall hanging that I made. It’s approximately 42 inches x 42 inches. It suits the space above my sofa well. And the best thing about macrame is that it can be enlarged or can be made smaller to suit the space you have.
How I Made It:
I chose to use leftover copper spray painted 1 inch EMT conduit. You’ll find here on da blog that I try to reuse scraps from other projects in new projects because I hate to waste and hate to hoard. I had one longer piece than the other, top piece is 42 inches long and bottom piece is 28.5 inches long. Conduit cuts easily with an inexpensive hand-held pipe cutter. Here’s one from Amazon for less than $8 that’ll do cuts from 1/8 inch to 1 and 1/8 inch.
I always gather inspiration before diving into these kinds of projects. My inspiration is on my Home: Wall Hangings Pinterest Board. If you’d like to try out macrame, give the board a look through (and even a follow!) to get some ideas.
I used about 2.5 arm lengths for each length of cord (I used this macrame cord, but I’ll definitely use this one
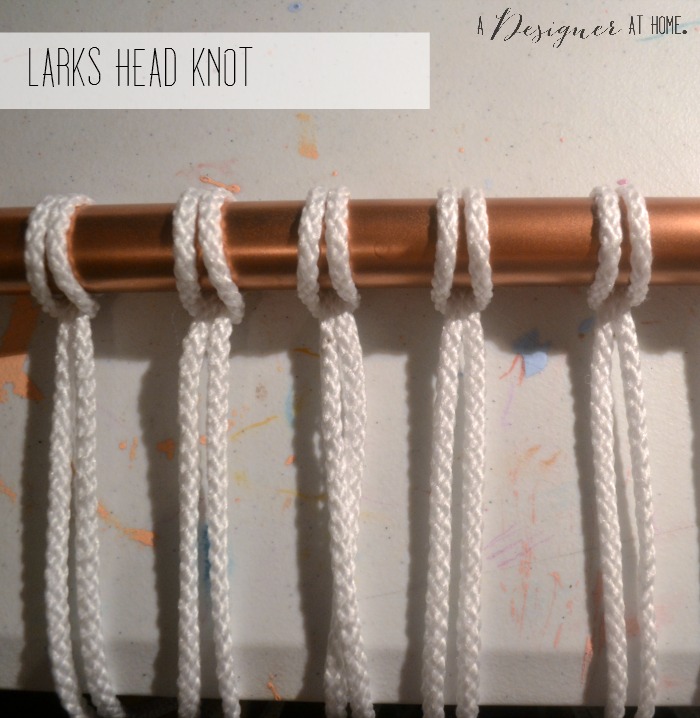
next time. Once the cords are cut, I recommend taping off the ends to prevent excessive fraying. The knots I use to get the rope onto the pipe are the Lark’s head knot. Because square knots are done with groups of 4 strands, I made sure I had enough cords to be divisible by 4. I followed the Lark’s head knot with 2 square knots to secure things in place.
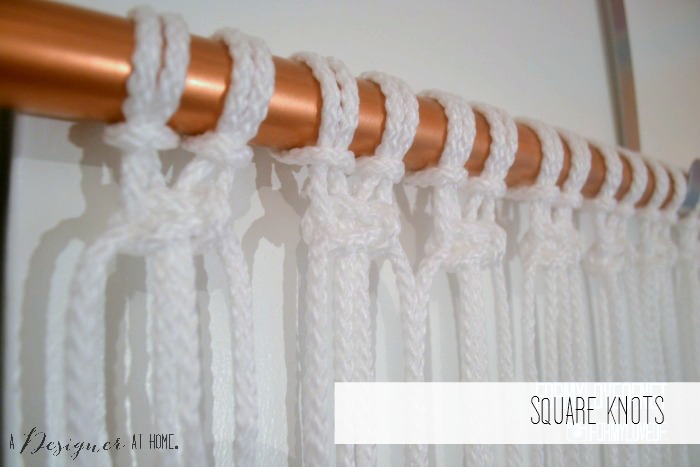
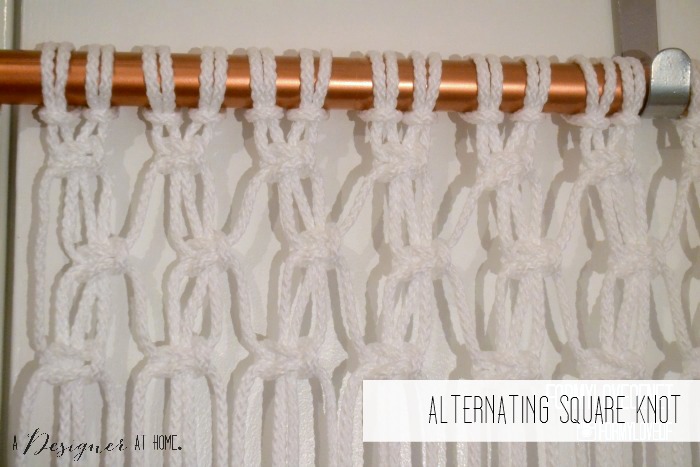
You can do something very rad, very pretty with the basic square knot. The design created here is made using the alternating square knot. Shift inward, leaving a couple strands hanging on the end, and tie a square knot a few inches below the square knots above. Alternating back and forth, it creates the alternating square knot.
I used an over-the-door wreath hanger to hold my pipe. It’s very wobbly and unstable, but I had to start on the wall hanging and couldn’t stand to be delayed with picking up something else. I’ve seen great recommendations to use hooks to hang it from though, just to give you another suggestion. Though I think 2 over-the-door wreath hangers would work fabulously and you can pick them up for $1 a piece around the holidays!
You can add a second rod further down into the wall hanging. Secure the pipe in place using two square knots. I used a level to ensure the second rod was lining up with the first and simply loosened or tightened the square knots as needed.
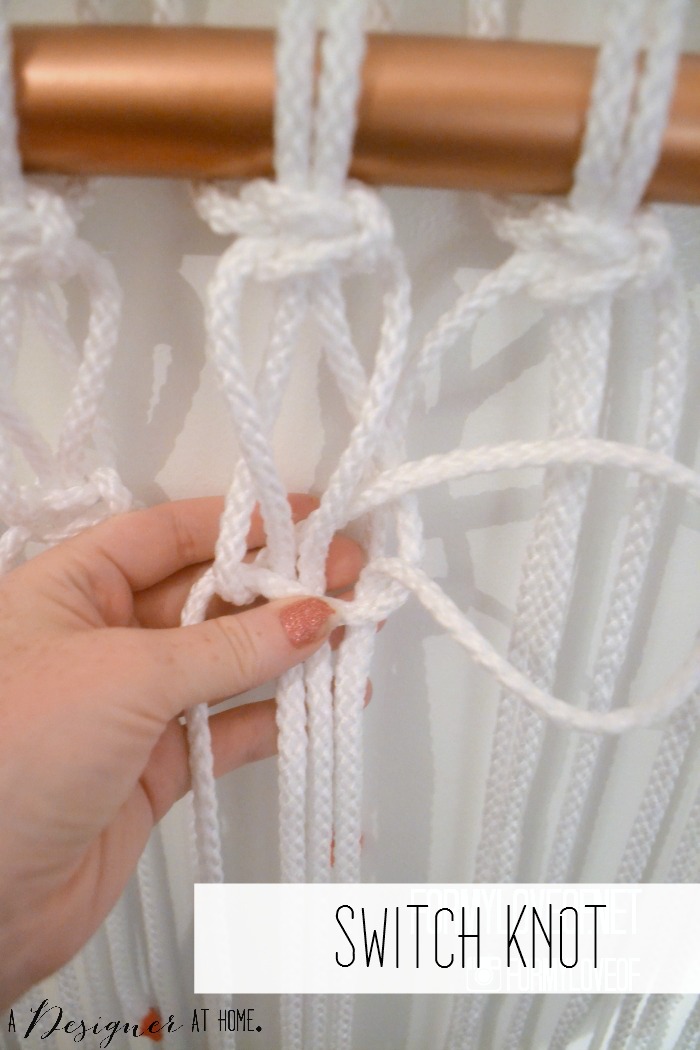
Below the second pipe I used the switch knot to create the cool hanging pieces. The switch knot looks way more complex than it really is, and adds a very cool layer of dimension the the piece.
There are plenty of ways to start tapering off the ends of the macrame wall hanging. I left mine organic, yet structured in length to some degree. You could tie knots and cut excess of to create a point. Another suggestion would be to add embellishments like beads, or paint the ends of the cord, or fray the ends intentionally.
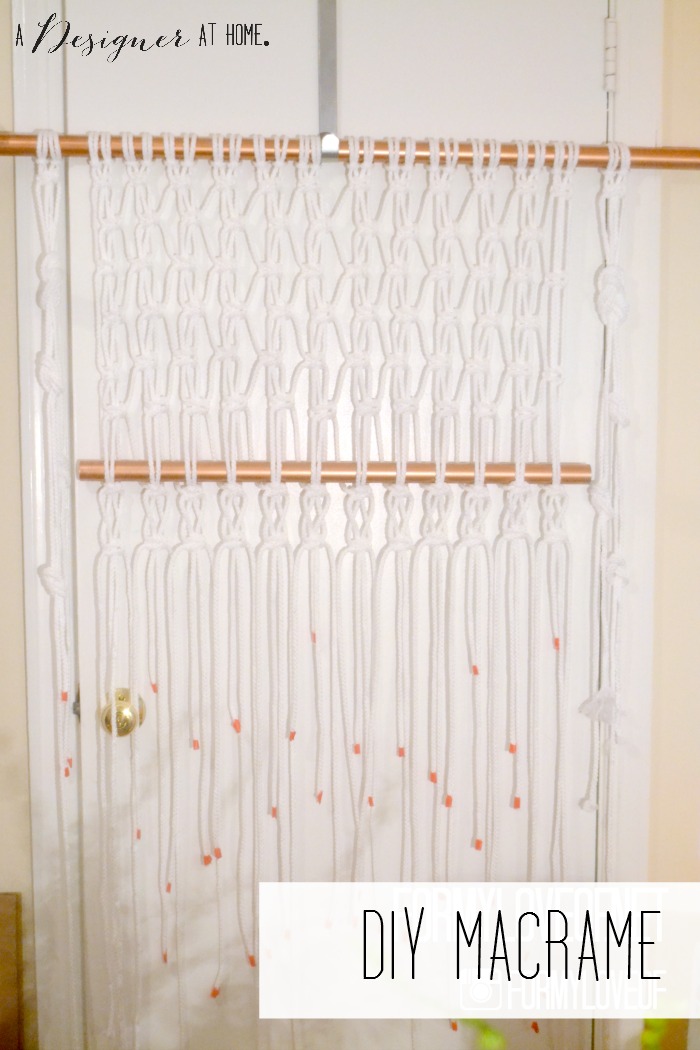
After the switch knots were finished, I tied each group of cords into an overhand knot. Like the square knot, the switch knot leaves the outer cords hanging out to the sides, and it didn’t feel finished to me.
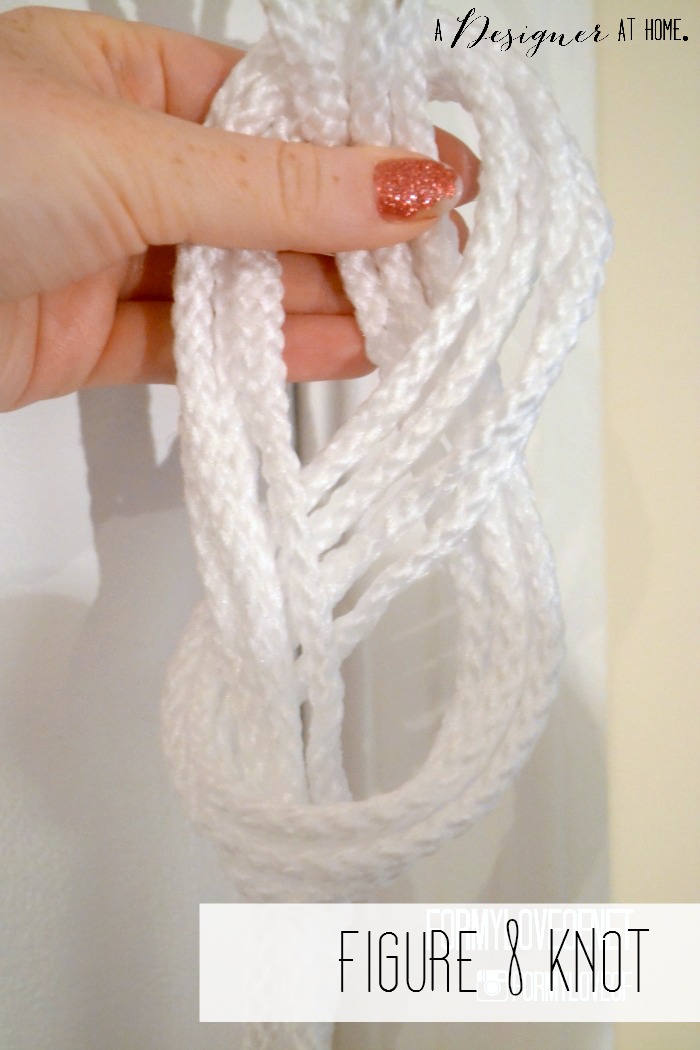
To add a little something more the the hanging, I added lengths of cord on either side of the piece and tied large figure 8 knots. Then pieced off sections below that to tie into smaller figure 8 knots.
I’m so happy with how it turned out. I hope you learned something cool today and enjoyed this post. If you did like it, please leave a comment and give this post a share!




This wall hanging looks like so much fun! I have pinned for later because I definitely want to give it a try!
Would love if you shared this at our Yarn Fanatic Party – http://eyeloveknots.blogspot.com/2015/07/yarn-fanatic-party-44.html.
Thank you Alexandra!
Great tutorial! It looks beautiful!
Thank you Christine!
I love this hanging. Did I miss how long it turns out to be?