
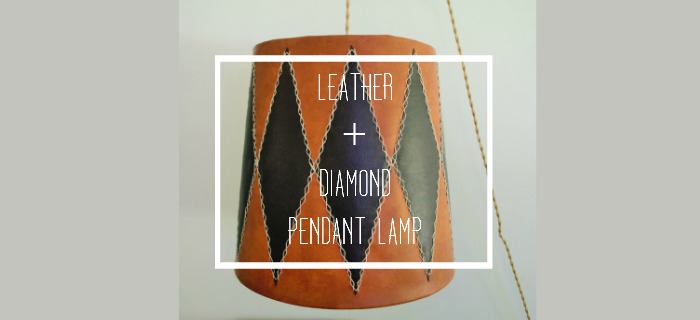
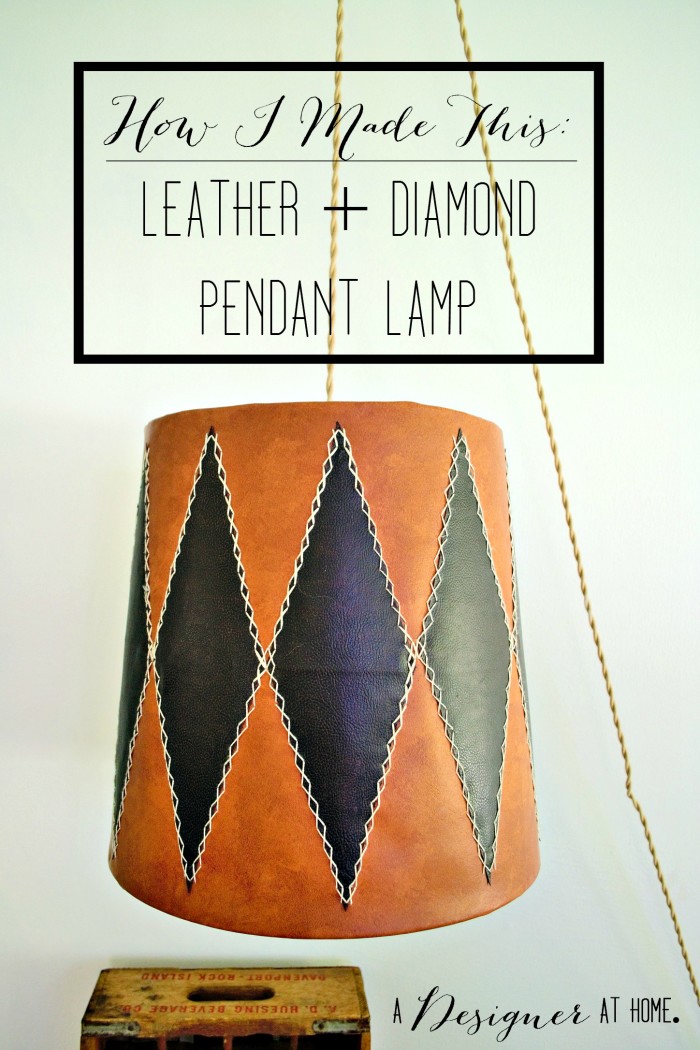
Once upon a time I bought 3 yards of a faux leather fabric to make a pillow. Turns out, I have no idea how to order fabric. I ordered a lot of fabric. Naturally, I had to figure out what the heck to do with so much fabric. Lamp shade, that’s the natural first-thing-everyone-would-think-of idea, right? I wanted to do something mid century inspired with elongated diamonds stitched on. And thus was born a swanky mid century inspired hanging lamp shade.
How I Made It.
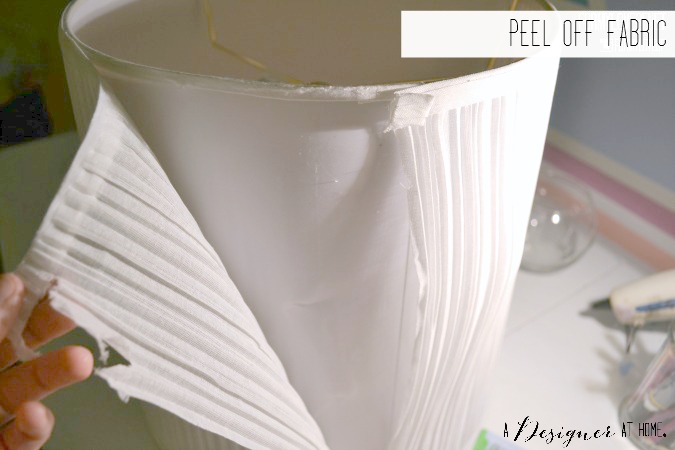
It all started out with a $4 clearance 14 inch drum lamp shade that I picked up online shopping at Lowes. I tore the outer fabric and trim off to leave it bare bones. The fabric appeared to be hot glued on. It was surprisingly easy to simply peel it all off.
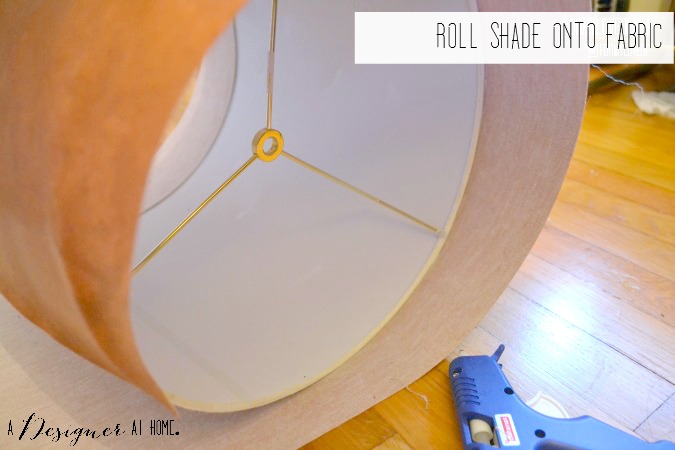
I then measured the length and circumference of the widest side of the shade. After I had my measurements, I cut out a piece of faux leather fabric 5 inches longer and wider than my measurements and wrapped it around the shade. I then hot glued an inch overlap. I cut the excess off and folded and hot glued the ends of the fabric into the shade.
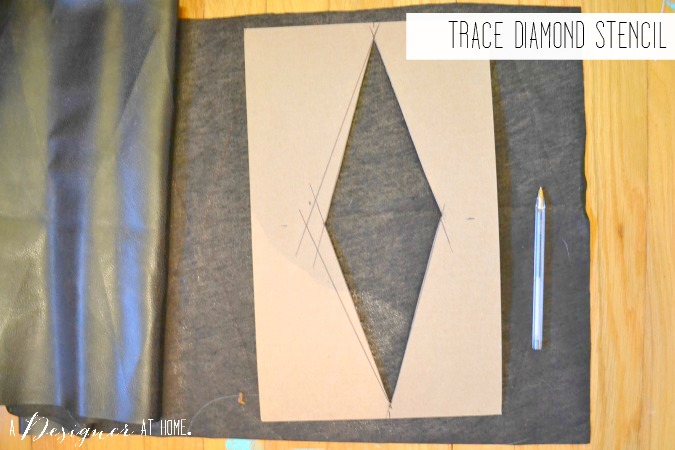
The short width of my diamond is 4 inches and the length is 12 inches. I used a craft knife to cut the shape out so that I’d have a stencil. I then cut out enough diamonds to go around the entire shade. I then placed each diamond onto the shade in the position I wanted them to be and hot glued them in place. Working on this shade in the heat of Virginia proved hot glue to be a very temporary solution. In between working on the shade the diamonds would peel off. I wanted them to be stitched on and look stitched on anyways, so that was okay.
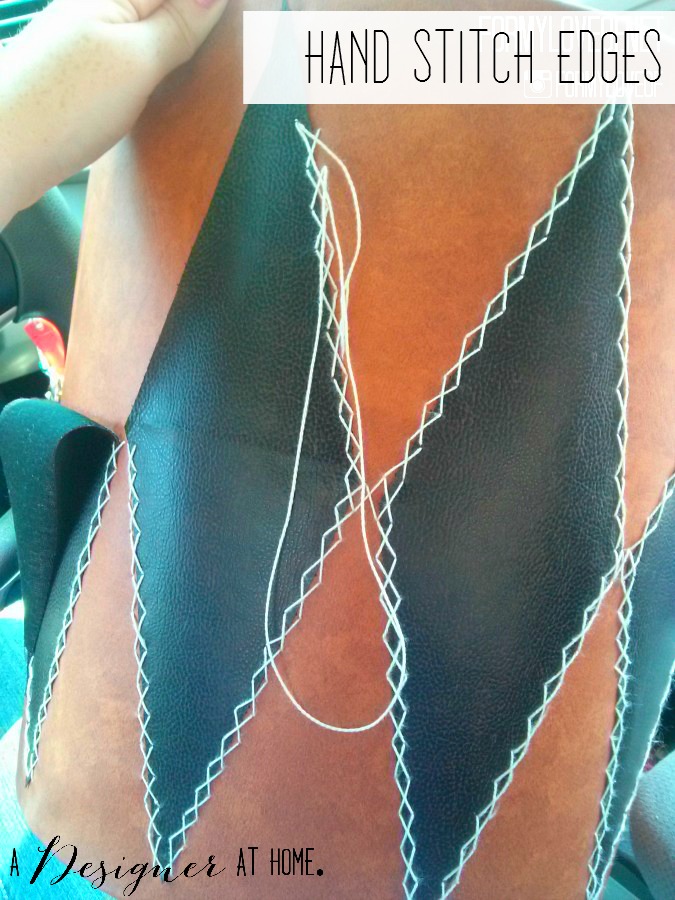
To stitch the diamonds in place, I used a thumbtack to punch holes along the outside of the diamond and onto the diamond. I then went back and stitched “X’s” with embroidery floss and and needle. This part was time consuming but I still love this lamp shade so much, it was definitely worth the trouble.
Assembly after this was as basic as putting together lamp kit pieces. I swapped out the generic cord for cloth wrapped cord because I adore the look.
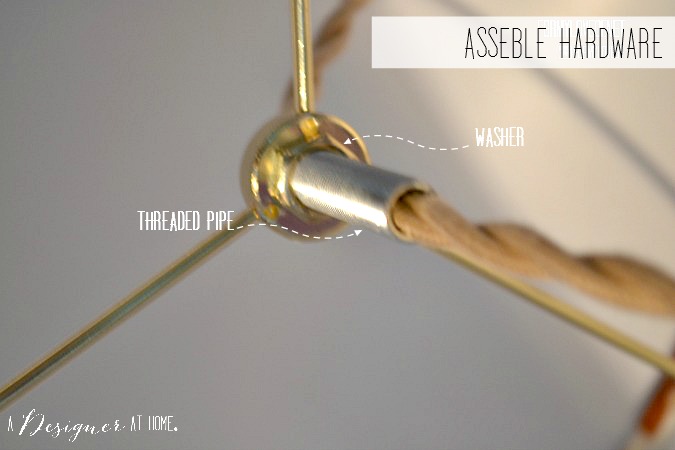
I chose to purchase my cord from Snake Head Vintage because they were having a promotion for free shipping at the time and would be attaching the plug for me. I compared prices from several cloth covered cord suppliers and found Vintage Wire and Supply to be the cheapest cord. Color Cord Company has a lot of really fun colors and kits already assembled if that’s your thing. And, Nostalgic Bulbs had a decent selection for cloth wrapped cord, but their light bulb selection was out of this world good. So hopefully that bit helps if you’re ever in the market for cool light bulbs, cloth wrapped cord, or pendant light kits!
I think lighting is one of the coolest things you can DIY. It’s pretty darn easy to do so! If you’re feeling unsure, you ought to try out one of the kits from i like that lamp. There’s a variety of kits to choose from, but I am especially loving the DIY Mid Century Modern Sputnik Chandelier (so much so that I bought one for myself!)
I hope you’ve found this post helpful, inspiring, and interesting! Before you go, leave me a comment? I’d love to hear from you! You should also sign up for email updates, so you don’t miss out on any of this awesomeness!


This is rockstar awesome. I know exactly where I’d put this. So cool!!!
Thank you Courtney! I’m so happy you like it and appreciate the feedback!
This is awesome Corrina! Hand stitching?!? WOW! I’m asking bloggers to share their leather projects at the Create With Me monthly party at Love Create Celebrate. I hope you’ll come by and share!