
Hey guys!
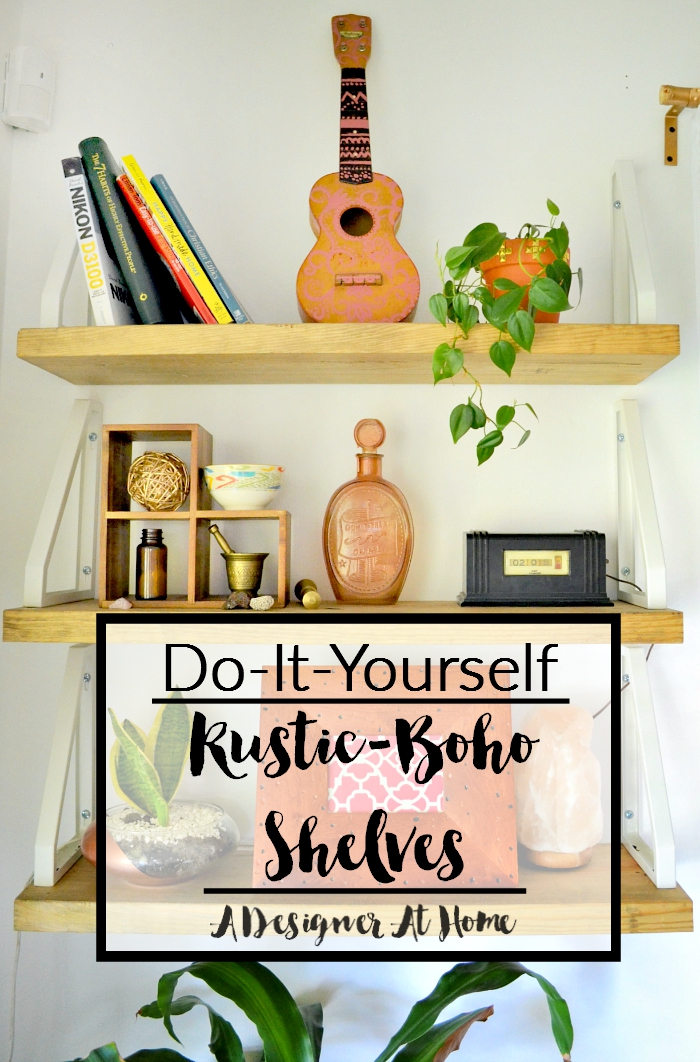
My favorite DIY’s always involve wood. I love the look and what it adds to a space. But sometimes wood needs balance and that’s why industrial style is so fantastic. Pairing wood with metal elements is a harmonious blend between cold and warmth. But the typical metal pairings are just a bit too industrial for my taste. So I found these very cool shaped white brackets from IKEA. Their geometric shaped paired with the softer white metal paired with a rustic wood finish really lend themselves well to a boho styled space. But really, they’d look pretty darn great anywhere.
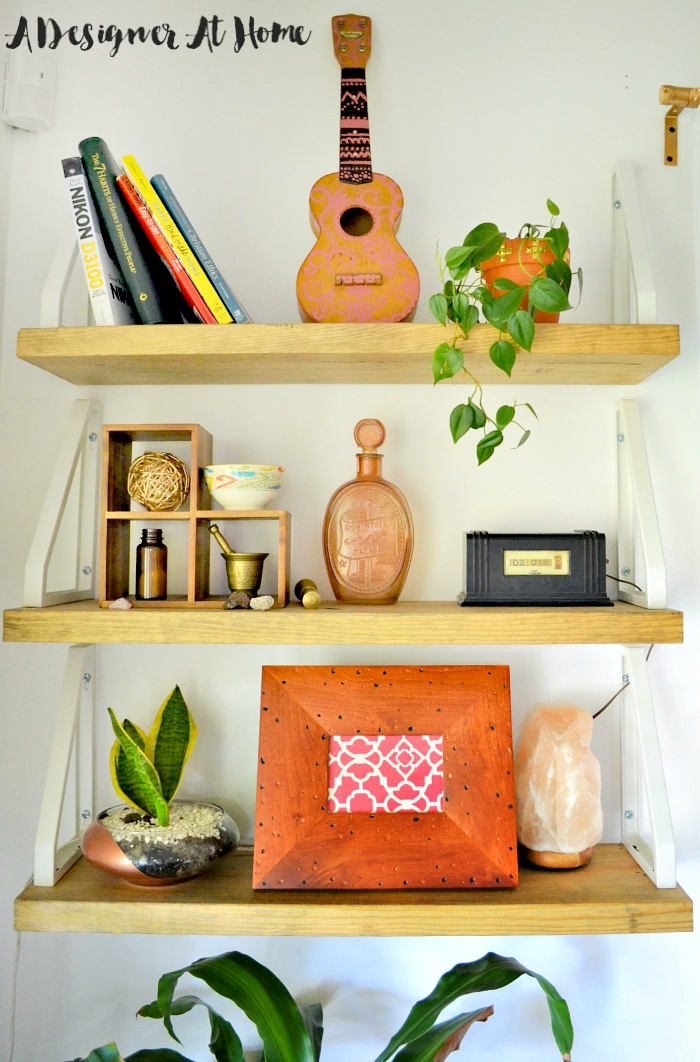
The look I was going for involved having to use the brackets on top of the shelf versus below as traditionally used. These brackets are designed to be used traditionally. We’re going to “hack” them in a sense to work the way we want.
Here’s How I Made It:
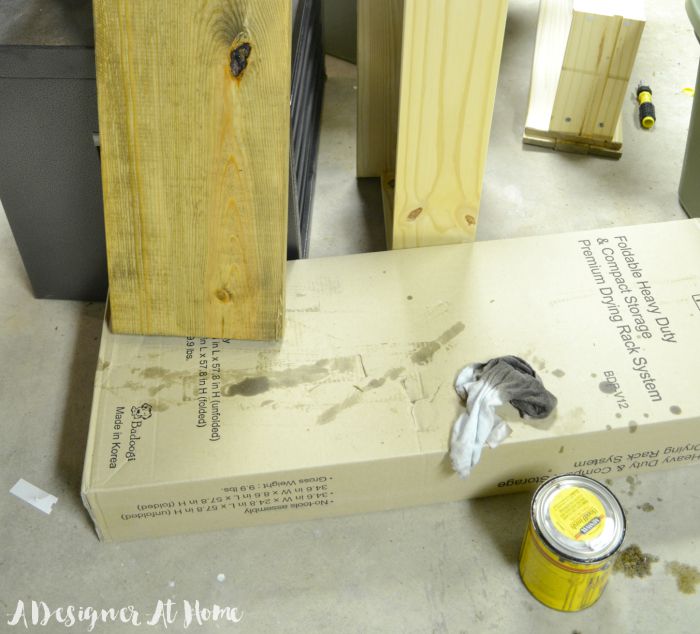
I picked up my lumbar from Home Depot and asked to have my 10 foot piece cut into thirds and they did all the measuring for me and ensured it was even. I brought the wood home, dusted them off and stained them. I used a very light layer of a wood stain in “special walnut.”
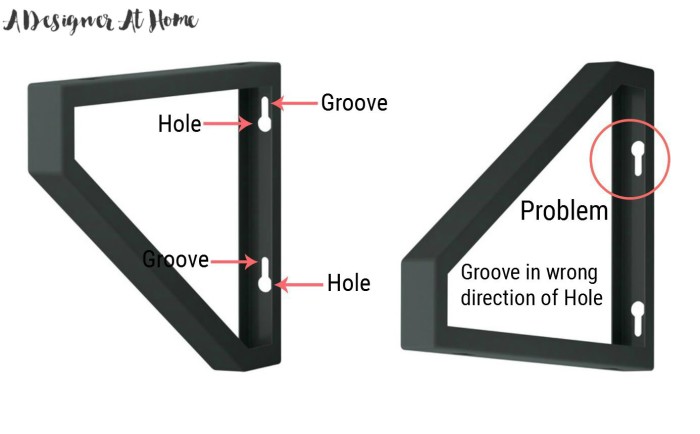
While those dried, I started marking out where holes for the brackets need to be made on your wall. I like to use painter’s tape for this so that any mistakes won’t be written on my walls. The design of these brackets works by using a smaller headed screw that the larger hole fits over, then sliding the groove of the bracket onto the neck of the screw and then you’d just tighten the screw down. I wasn’t planning on using them this way so I made sure to mark the larger circle of the holes in the bracket that went against the wall.
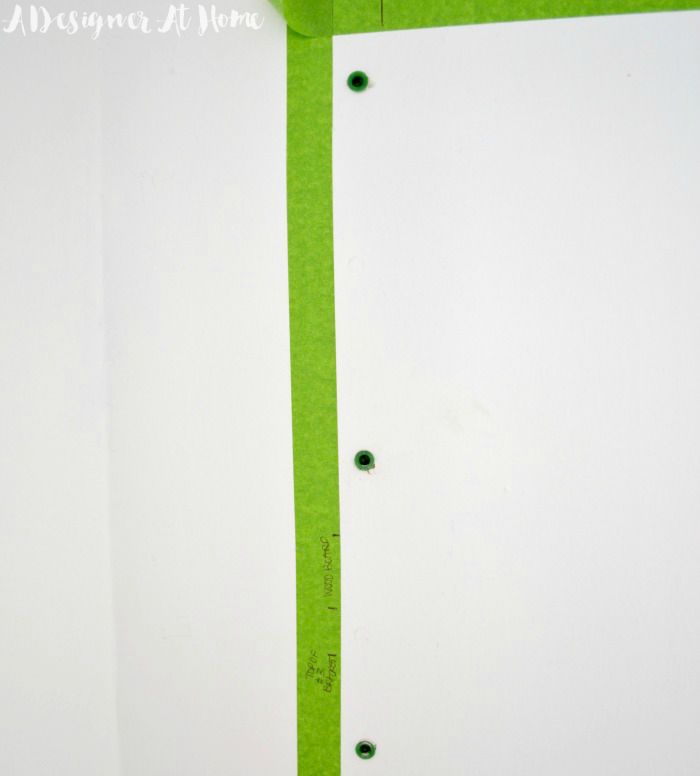
I predrilled holes into the wall where I marked and put in wall anchors since where I wanted my shelves didn’t line up with studs. I knew I had to predrill the holes because I wouldn’t be able to use the power drill for the final install step.
Then I lined up the brackets onto the lumber and marked where the screws need to be screwed into the wood. These holes will line up with the end of the groove. Unlike the wall, we are using the sliding into place feature with this side. I noticed, on my brackets at least, that there were some imperfections in the holes and grooves, so I numbered the brackets just in case it caused variances in how they fit.
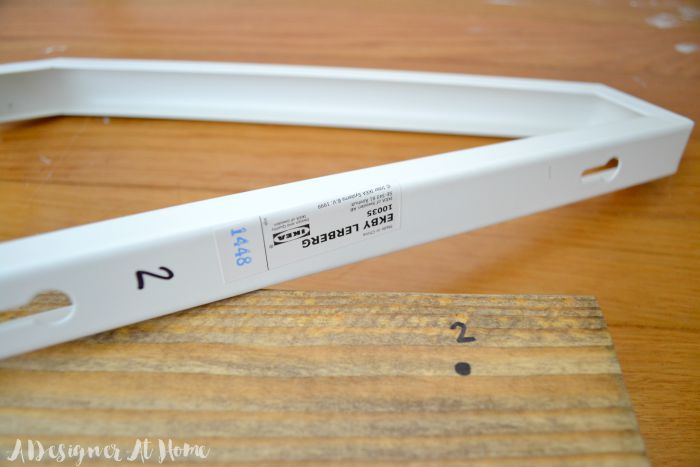
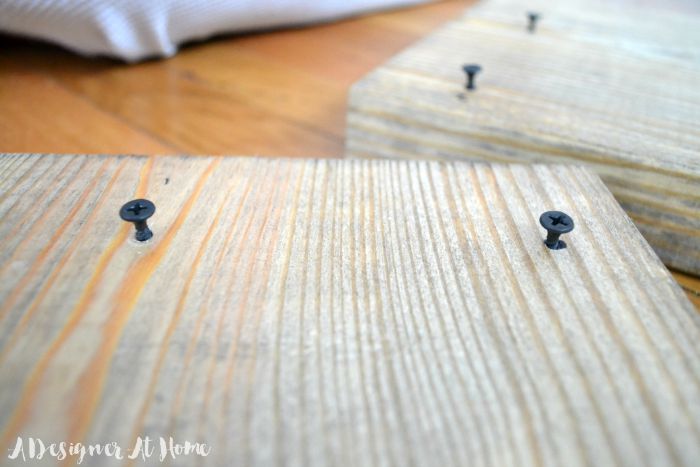
With the holes marked, I went in and drilled the screws partially into the wood, making sure to leave room for the bracket to slid into place.
The only way I could get into the bracket to tighten the screws was with a socket wrench. Because I wasn’t using the bracket as intended, I couldn’t start the wall screws until I had the bracket up against the wall. So hubby and I took turns hand cranking the screws into place.
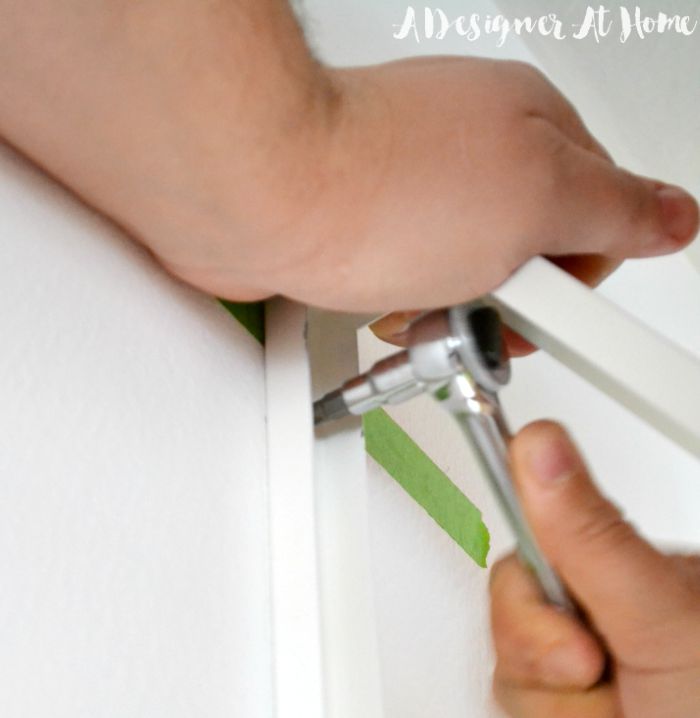
When all of the brackets were secured to the wall, I took a piece of lumbar, lined up the screws with the holes and slid it into place. Either be the person holding the lumber in place or have someone else do it while tightening the screws. This lumber has some weight so be careful.
And then It’s time to have fun with them. I kept them pretty high up off the ground because my 3 year old would love to turn them into a ladder.
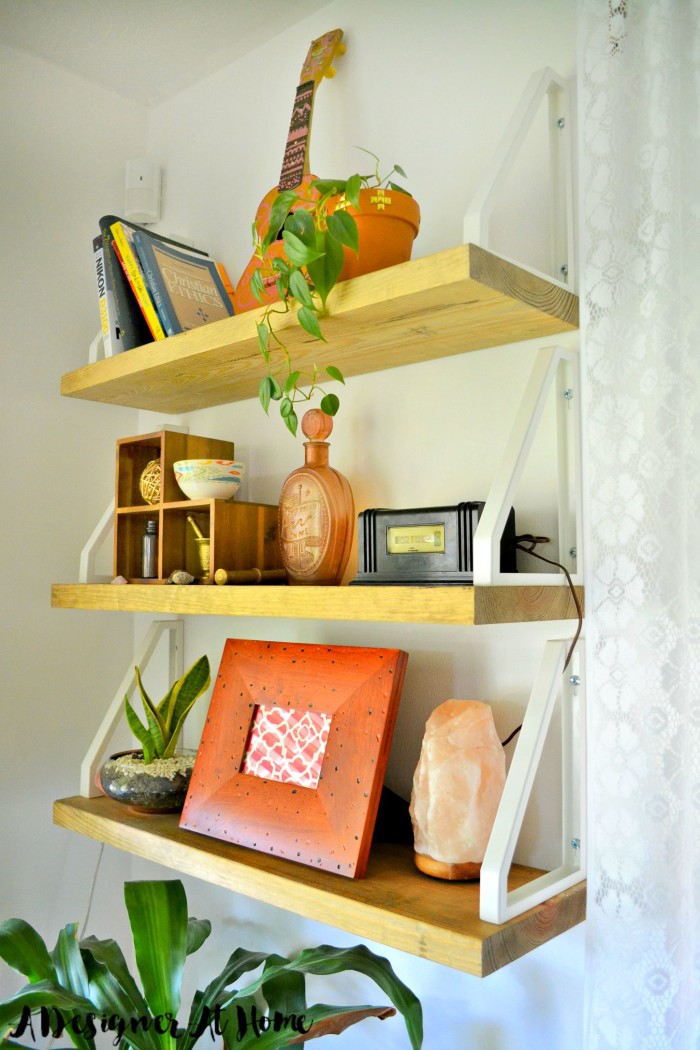
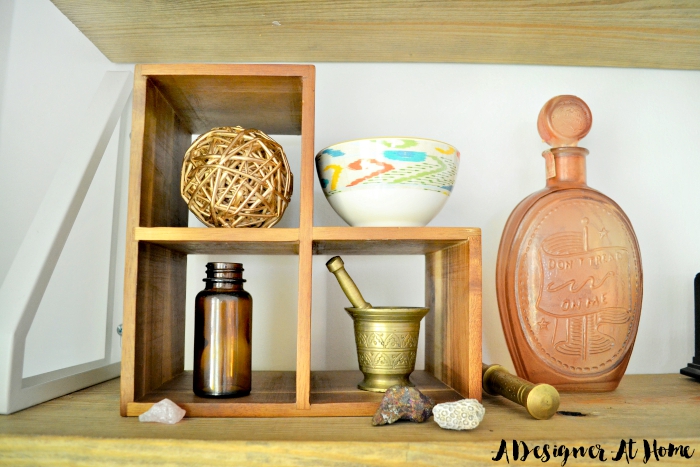
Shelves are so practical and a great place for parents to have fun with decor. I’ve collected a lot of old and new items here that make me happy. I played around with the arrangement until my eyes were happy.
Supplies:
Quantities will vary based on the number of shelves and how long your shelves will be.
10x8x2 Piece of lumber
Heavy duty walls screws and anchors (with a head larger than the holes for the brackets)
1.5 inch Wood Screws
Power drill and phillips head and general purpose twist bits
Socket wrench and phillips head bit
IKEA Ekby Lerberg shelf brackets
Optional: Wood Stain and Sealer
Are you a total IKEA lover? I love how easy it is to mix in IKEA pieces with vintage pieces. I also love how easily they can be hacked into something unique. Have you ever hacked an IKEA piece before? What’s your favorite IKEA hack?


Love the shelves….the white brackets with the wood is perfect 🙂
I think you did an awesome job! Love the look, small changes huge impact. Love it!
Thank you Nicole! Means so much coming from you ?
I love the chunky wood you chose! Please tell me you have a post on plant tips – I can’t keep anything alive lol
I buy lots of pothos! They’re so easy to keep alive and give me the encouragement to give other plants a shot. Thank you for commenting Caitlin!
Wow! Love your style and those shelves are fabulous 🙂 Well done!
Thank you, Erin!
I love how these turned out! How creative…and smart to change up the look by using the brackets differently! Sharing & pinning:)
Thanks Wendi! I love that they also help keep books in place 🙂
Corinna, these ar fantastic! I love the way you styled them aswell. That ukulele is the cutest thing ever, I want one.
Thank you, Stacey! Best eBay purchase EVER!
Love these! Never would have thought to put the brackets ABOVE the shelves! 🙂 way to think outside the box.
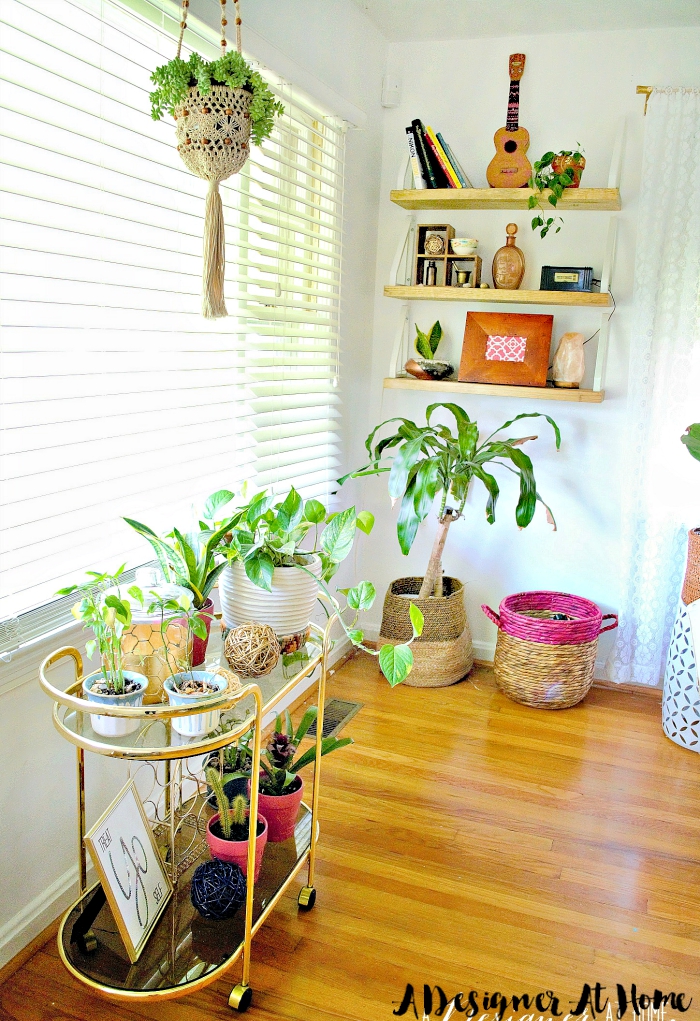
Love them! I’m a big fan of white + wood – looks amazing. Also, I love your bar cart!!