
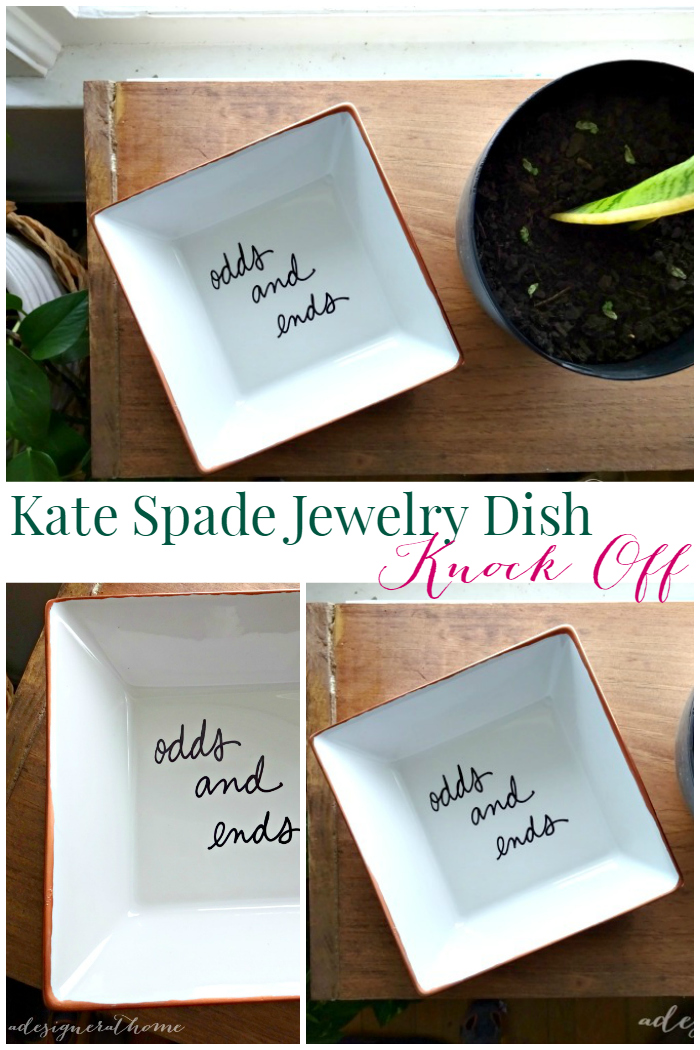
Welcome to the first installment of the Knock It Off DIY Monthly Challenge! Every month you can stop in on the 3rd Tuesday of every month to find a plethora of knock off inspiration. Each month is themed, and this month we are knocking off a Kate Spade item. Looking through the Kate Spade collections, you’ll find lots of really cute decor but the price tags are shocking. If you’re a creative, you’ve probably looked at those pieces and said to yourself, “I could totally make that for dirt cheap.” Well, my friend, we are doing that and we invite you to do it too!
Honestly, most of the Kate Spade decor isn’t really my style. And that’s totally OK. There’s a collection for everyone. I did find one piece that I thought was especially cute and practical and customizable. The daisy place square jewelry dish.
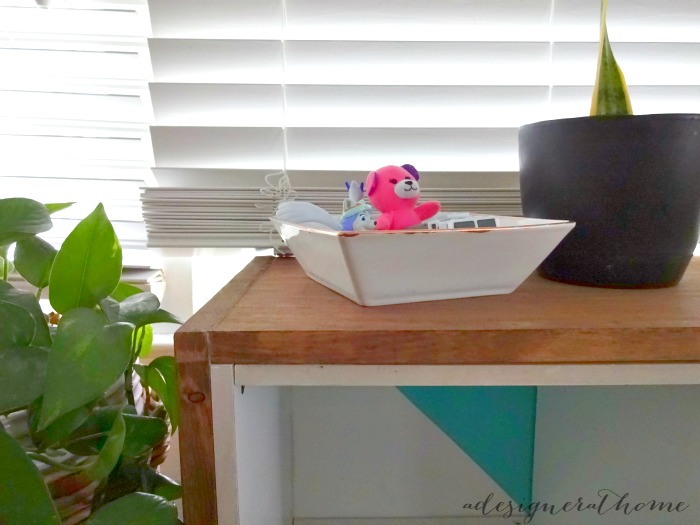
I found this to be really, really easy to recreate. Inexpensive square dishes can be found practically anywhere. I picked up a deeper one than the Kate Spade one to suite my needs a bit better. It’s from Target, but again you can find these everywhere from Walmart to thrift stores.
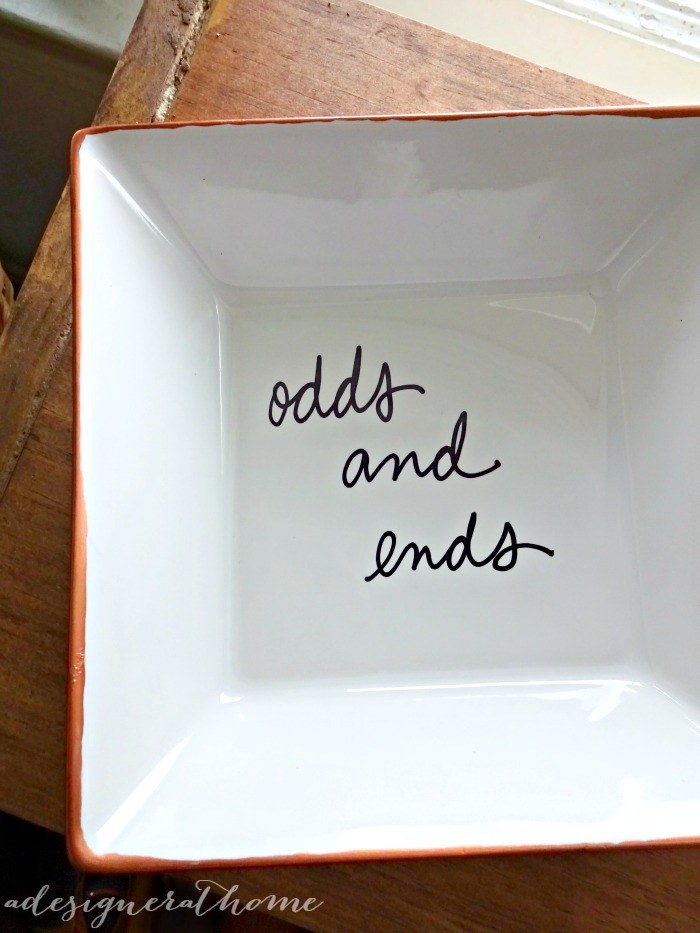
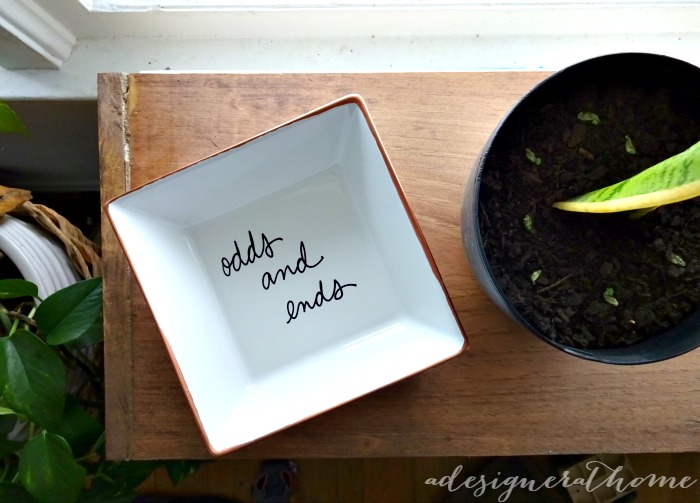
I cleaned the bowl real well and that was probably the hardest part of it all! I doodled in the same “odds and ends”from the inspiration piece with an oil based Sharpie marker. I baked it according to some miscellaneous baking instructions I found via good ol’ google search but I could still scratch off the paint after following the steps. So, who knows if that stuff really works.
And then painted along the edges with a very small craft brush and Ace hardware brand “Artistic Finishes Metallic Finish” paint in Copper. I prefer all of the Ace hardware copper colored paint products because they have a touch more pink that all of the other ones I’ve tried. I definitely recommend this paint because it has the best coverage and, even more importantly, the best metallic finish out there. It’s not as reflective as the inspiration piece, but it’s the best I’ve found. Not sparkly, just metallic.
I didn’t take any during shots because it’s hard to write white steadying a camera- ha! But there’s really nothing new to the techniques. They’ve been done a million times over. But that just shows you how fail-proof these ideas are for DIYs.
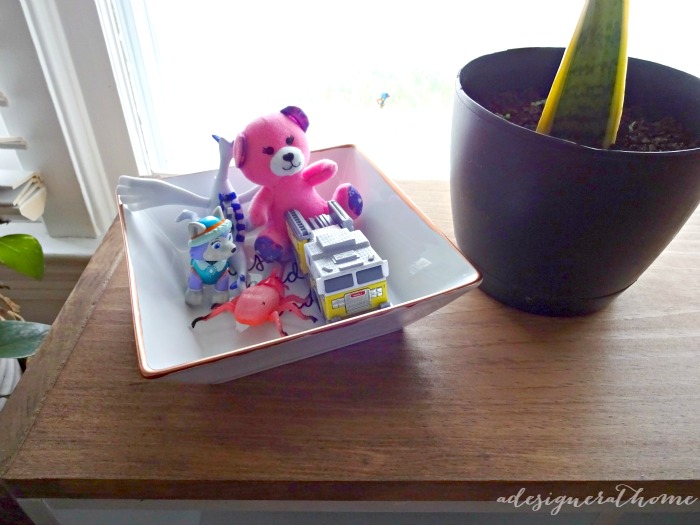
Supply List:

Love this dish and you did a fantastic job! Look at the handwriting! Whoa!
Your dish turned out really cute and your handwriting is impeccable. Love it.
I love it! I wouldn’t have ever been able to write the message without messing it up. Haha!
Super cute Corinna! I like the touch of copper snd your handwriting is spot on!!!
😀 Thank you Stephanie! I really appreciate it!
That looks great! You have really nice handwriting–mine would never turn out like that.
Aw, thank you! I get that a lot. I never believe it though! I feel like my handwriting is a mess 😉
Looks like the real thing! Thanks for sharing!
Totally cute! I prefer yours to the real thing. Annnnnd amazingly impressed you write that well inside a dish! The posts for this challenge have taught me all about the existence of the oil-based sharpie, and now I want to try it…whether it works or not. 😉
Your dish is FAB! I love the simple saying, too. We have Sharpie sister projects this week 😉
That is soo close to the original. I can’t even tell the difference. I love it, great job, and thanks for hosting alongside the other fabulous bloggers. Love all the knock offs.
Hi, you said the Sharpie can scratch off? Is there a top coat you can put over your writing to make it durable enough to stand up to use?
There are food grade top coats and ceramic sealers available. The baking of the sharpie should have prevented in from chipping so I think I’m just an anomoly.