
Hey Guys!
Last spring I was perusing Craigslist (what’s new?) and I found a listing for 2 retro chairs. They appeared to be bright green aluminum with a floral seat cushion. I thought they were perfectly vintage, even if there was some wear and tear. And, at $10 a chair, I would have hated myself if I hadn’t checked to see if they were still available. They were, the whole family crammed into my Fit and we picked them up. As soon as I touched them I realized they were not in fact aluminum, but rather wrought iron. They were badly made over with drippy glossy spray paint and fabric that was stapled right over the old green vinyl. (They were obviously so, so gorgeous in their prime).
Stripping all of the spray paint off was absolutely out of the question. I don’t have the time for all the sanding and dangerous chemicals I’m sure were necessary. Plus, there is the start of rust around some of the joining welds.
How To: Vintage Retro Chair Pair Makeover
So I started off by sanding the mess out of the whole chair. I used a sanding block with a medium grit to take down as much of the shine as possible without leaving deep scratches in the paint. After wiping the chairs down with a dust free cloth, I gave the coat of KILZ primer. I’ve heard phenomenal things about it so I made it a point to choose that one specifically. I’ll have to report back on my own experience. See, my concern with the whole ordeal is that these are chairs, there’s going to be a lot of rubbing on all that metal and I didn’t want my finish to go to shiz in just a few months.
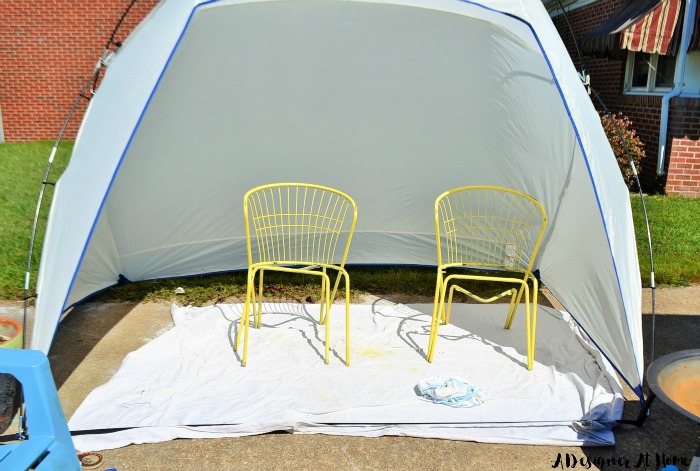
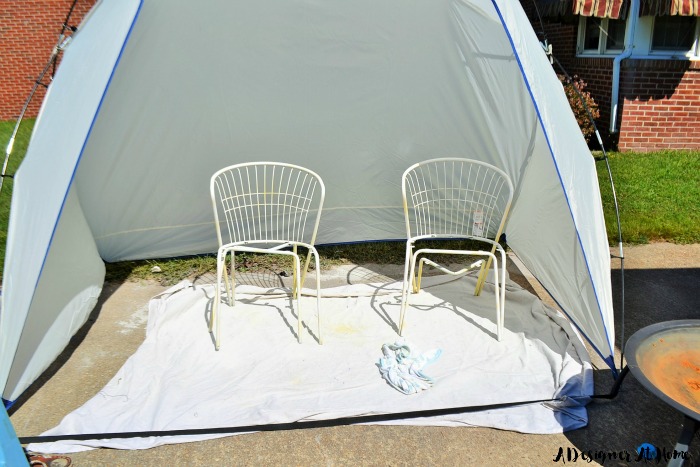
I thought I’d give spraying them a go with my paint sprayer. I’ve decided to use chalkboard paint for that matte black, slate look. I think I watered the paint down too much. It was taking a lot of paint to cover the chairs and it seemed like it mostly ran off the round surface. I have another few projects coming up that I will give the paint sprayer a go at (not with chalkboard paint, since there seems to be a bit of a learning curve with such a thick paint).
I ended up going with a regular ol’ can of spray paint, still in chalkboard finish, meant for metal surfaces (I hope that was the right call since metal is beneath all that paint!). I won’t be repurchasing the brand I used because it was a nightmare getting opaque coverage, but it finally did the trick (almost) about 7-8 coats later. Matte slate-like black.
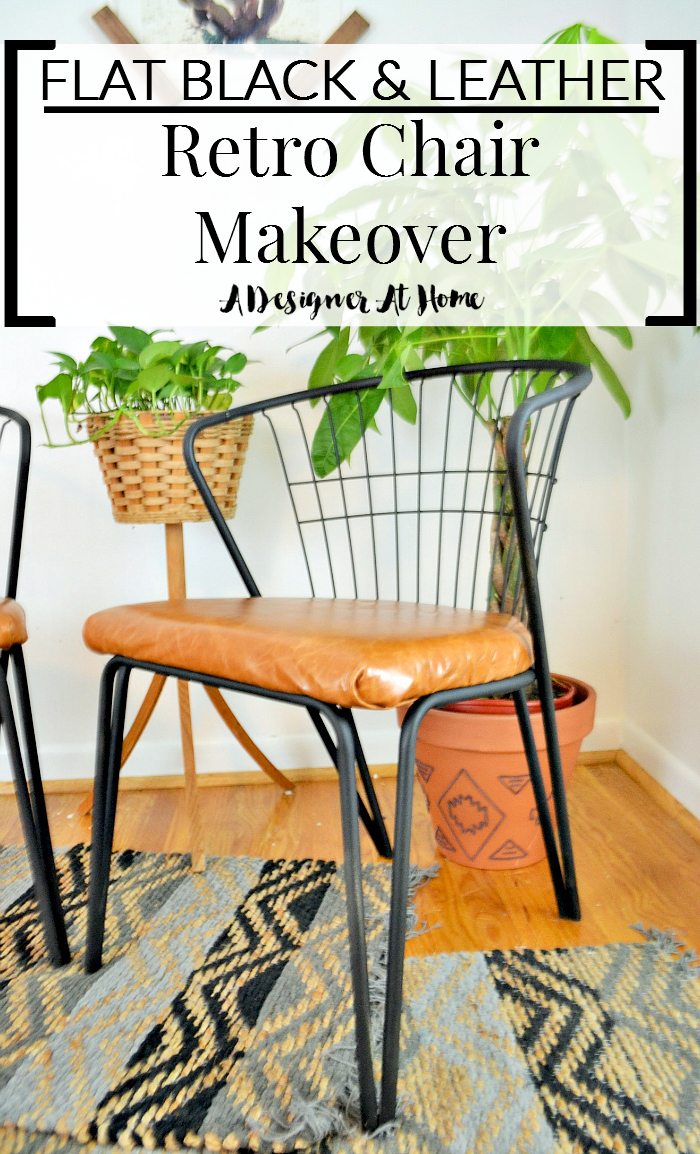
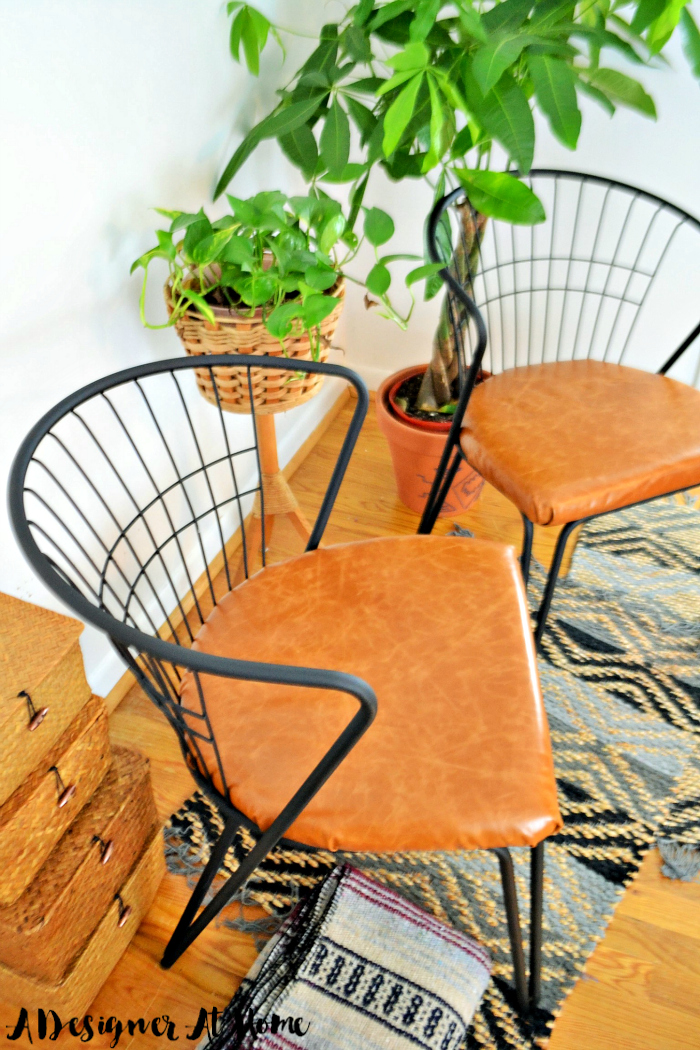
Because I want to really up the masculine factor with these chairs, I chose to reupholster the seats in leather. Because leather and wrought iron are “manly.” I love strongly masculine elements in my decor. It just is what it is (ie. amazing).
In between sanding and painting the chairs, I started to uncover the seats. And I was devastated to find the wood part of the seat was essentially mush. They were completely unusable. So the hubby and I did what every normal person does. We drove up to Home Depot, perused to lumbar department, cried when we found the cutting machines were out of order (remember, I drive a Fit), then decided on a 3/4 inch thick piece of MDF. It was $12, would fit in the car, and it doesn’t have knots and things to cut through. We were also buying our first Ryobi Jig Saw. Because we like to try new things when we’ve already dug ourselves this deep into a project. Luckily my hubby is pretty cool about trying new tools. I traced out the shape I needed and he cut it. SA-WEET.
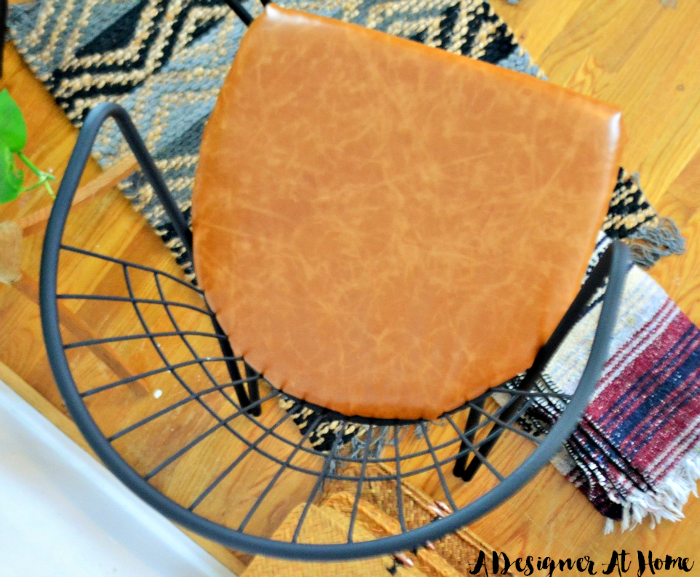
So then I had the new base. I layered cushion and batten, traced out leather about 5/6 inches bigger than my seat silhouette, and cut it out. The leather I’m using is from a remnant piece from Leather Hide Store. I originally had planned on using a blue leather but the Leather Hide Store rep encouraged me to get samples. I’m so glad she did because a screen does this leather no justice. The color was off from what my phone displayed it and it wouldn’t have worked for what I was after.
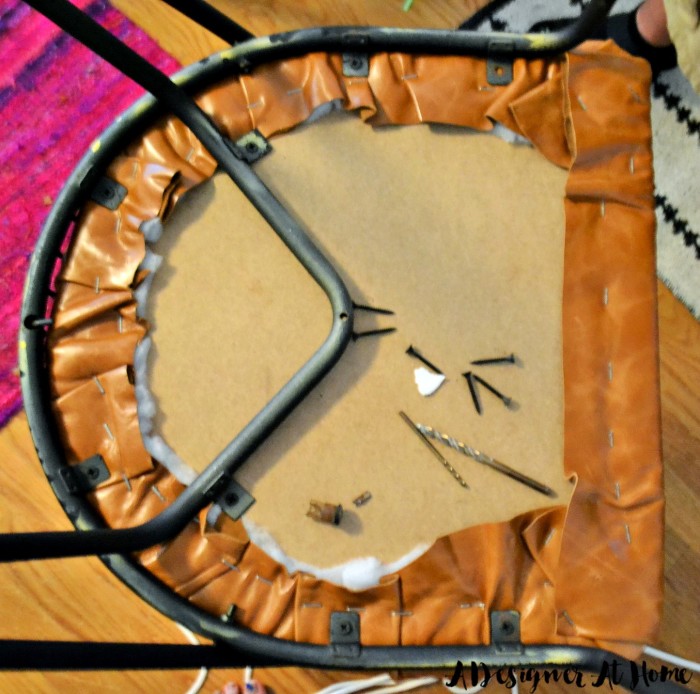
The color of this leather is Nevada Distressed and it is frigging beautiful.
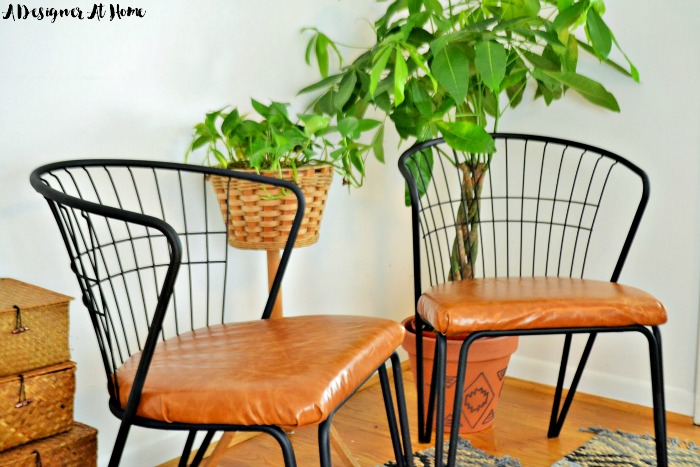
The leather folded nicely when coaxed, but is thick and structured enough to hold it’s shape. I think these will be perfect for our dining room since they’ll be easy to wipe clean.
So I did as the internet told me and pulled the fabric over the cushion, stapled in place and reattached to the chairs. There are pegs in place at each of the points of the legs, one was snapped so hubby came to the rescue and used a black screw to hold them together.
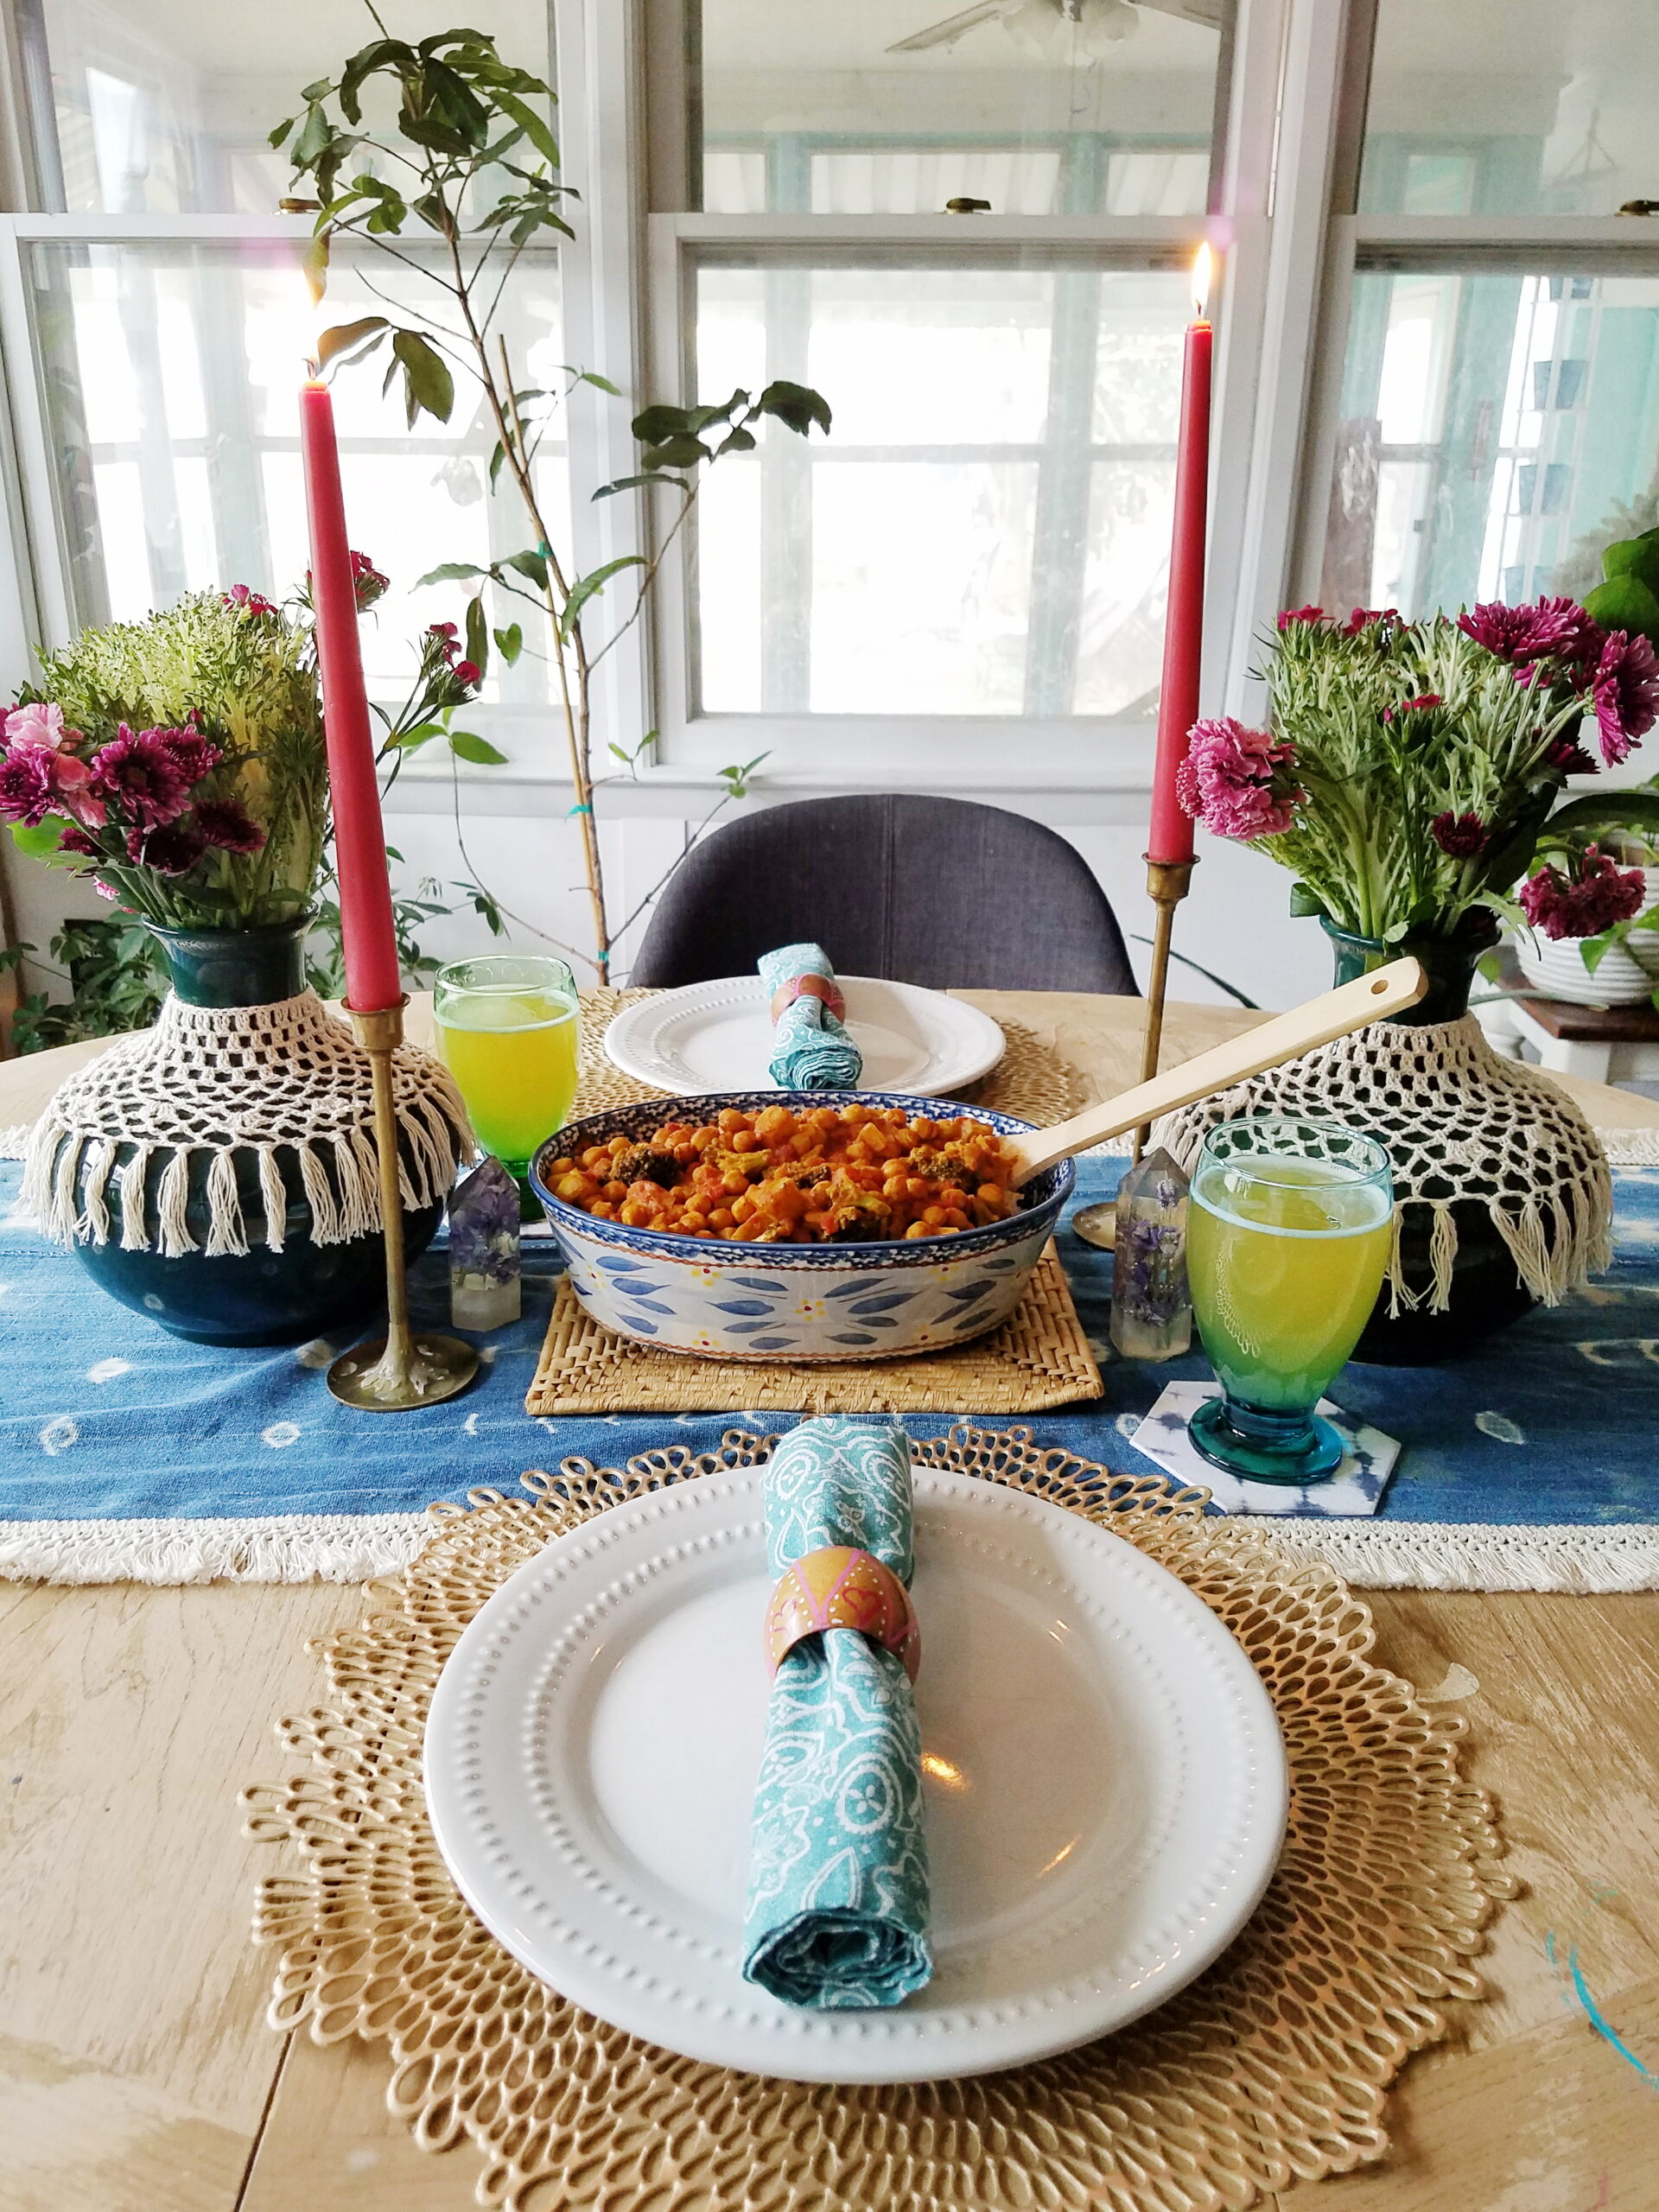
Seriously, making over and reupholstering chairs is one of the easiest “firsts” I’ve ever had (suprisingly with all of the roadblocks we ran into). Unless you want to layer on a lot of drippy and thick layers of spray paint and improperly reupholster a cushion (and please don’t do that because you just make the next guys time that much more terrible), I think this is something everyone should try. I plan on using my chairs in our dining room (the room that shall never be photographed because I can’t get my life together enough to make the room look like a dining room.)
Get A Similar Look In Your Next Chair Makeover:
Possibly- MDF Board & Ryobi Jig Saw
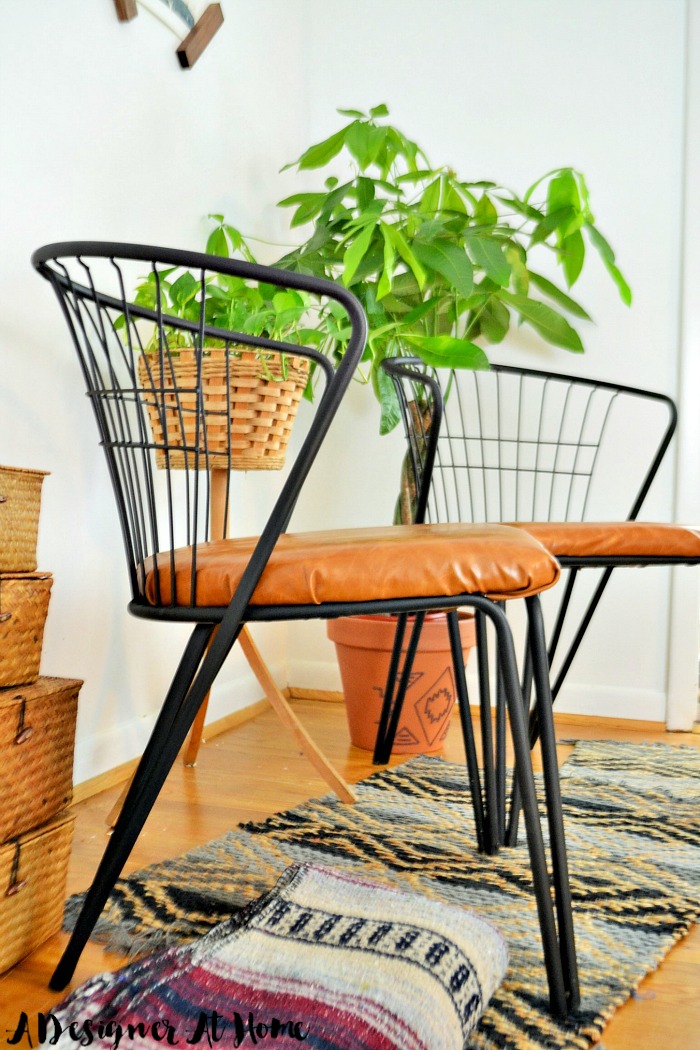
I know it takes me ages to get around to actually making over some of the pieces I thriftily score, but when I do, I really love the result. It helps that I’ve got space to store these things until I get around to working on them. And when it comes to pieces for a space like my dining room, I don’t give myself a deadline because it’s not a space I’m running towards a finish line for any particular reason (hello bathroom makeover!).
Moral Of The Story: Buy The House With The Big Garage.
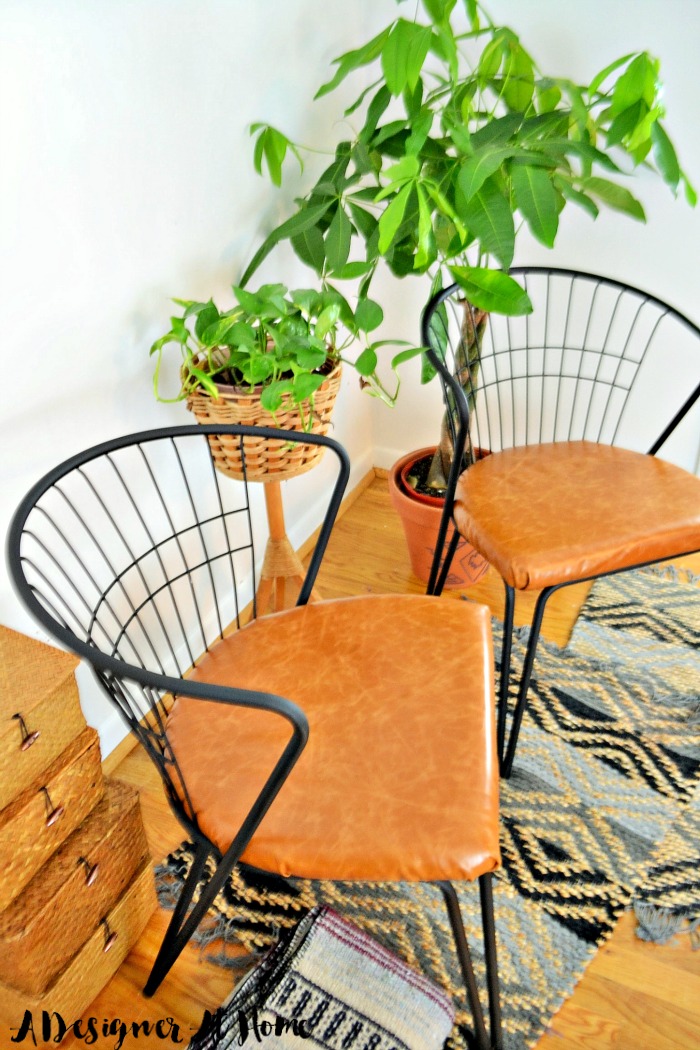
So anyways, to make a short story really long, I made over these chairs and I’m pretty proud of all the things my hubby and I did to make them happen. We’re always excited to try new things and new products and this time included a lot of those things. Leather Hide Store was so cool to reach out to see if we were interested in trying out their fabric and we agreed because it’s beautiful and the nicest leather I’ve ever worked with. If you’re looking for leather for your next upholstery project, you definitely ought to look into Leather Hide Store. Asides from sending the fabric to us to use for this makeover free of charge, we’ve received no other compensation. I hope you’re cool with that!



Those chairs were a total score, and that leather is gorgeous!! And, haha, I think we ALL have a room that “shall never be photographed” 😉
Lol! Thanks Jen. I’m glad there are other rooms like that out there.
Those look great! Love the leather with the chair finish and YAY on buying the jigsaw!!
I know! You’re a inspiration Ashley. Maybe now I can get to making one of those swanky hanging planters you shared!
Spray paint is the DIY bomb diggity! Love the leather you choose to cover the seats ~ so very rich looking!
Thank you Ashley (for more than the compliment! 😉 )
Oh my!! These chairs turned out… AMAZING!! Great job 🙂
Thank you!!
I love how these turned out! That leather is so amazing – I really really want some buttery caramel leather somewhere in my home!!!
Yes! It’s the perfect element. *heart eye emoji*