Hey Guys!
Today it’s going to be a bit of an intermission from what I’ve normally got to share here. I wanted to share with you how I took my Mom’s old flip top ottoman’s and brought them back to life. Flip top ottoman’s are really fabulous and versatile pieces of furniture. But they’re normally not made of quality materials. The “leather” rips and tears easily and the tray’s normally start to warp at the first sign of liquid.
I don’t own any of these flip top ottomans, but my mom does and they’re quite old and a bit damaged. When The Tile Doctor offered to send me some of their fashionable grout- yes, fashionable – it wasn’t my first idea to tile flip top ottomans. But after freaking out a lot over major problems with our DIY bathroom remodel, I thought long and hard about what I could tile that wouldn’t involve tearing up anymore floors in my own home. And that’s when it occurred to me that I owe one to my mom.
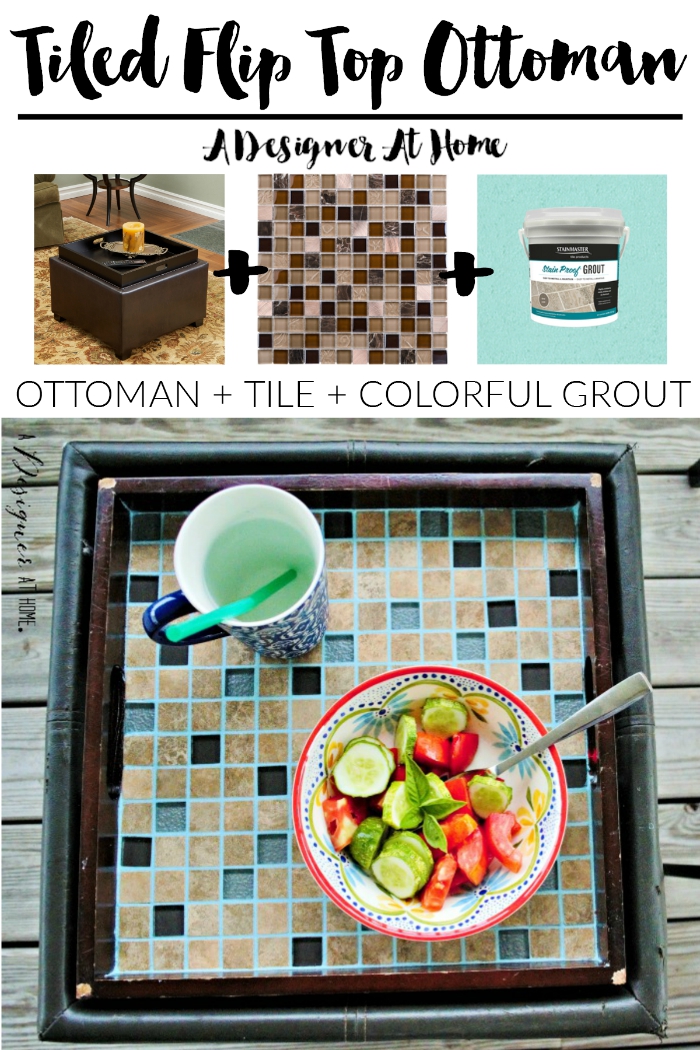
Materials:
- STAINMASTER® Glamour Grout (1 tub was more than enough for 3 ottoman tray tops for me)
- Grout Float
- Mixing Tool and Drill
- Grout Sponge
- Flip Top Ottoman
- Construction Adhesive
- Tile (I used 4.5 sheets of mosaic tile)
Helpful Pre-Installation Videos:
(I’m sorry but all of my during shot files were warped and unusable!)
I started off by wiping down the ottomans to remove any debris and gunk. Then I painted on a thick layer of construction adhesive. I chose construction adhesive for a lot of reasons. I had a horrible time working with thinset in the past and I don’t think it’s the right application onto a veneered surface. Then there’s the dry time. I didn’t have 24 hours to wait. Right or not, the tiles aren’t budging- but choose the adhesive you’re most comfortable with using with your own research.
Press the tiles into the adhesive and give proper amount of time to dry.
Then mix the grout. There’s no water involved in mixing. There’s a lump of the grout stuff and a pack of an additive. Mix the packet into the grout lump until a peanut butter consistency.
Use a grout float to press and slide the grout between the tiles. 30 minutes later, you’ll need to come back in with a grout sponge and water to wipe the residue off the top.
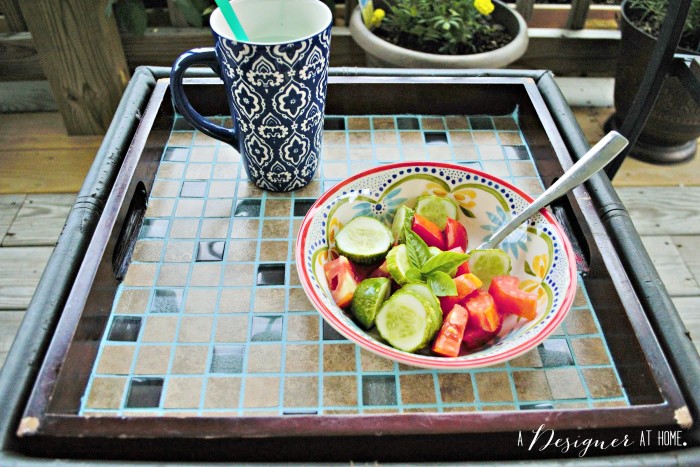
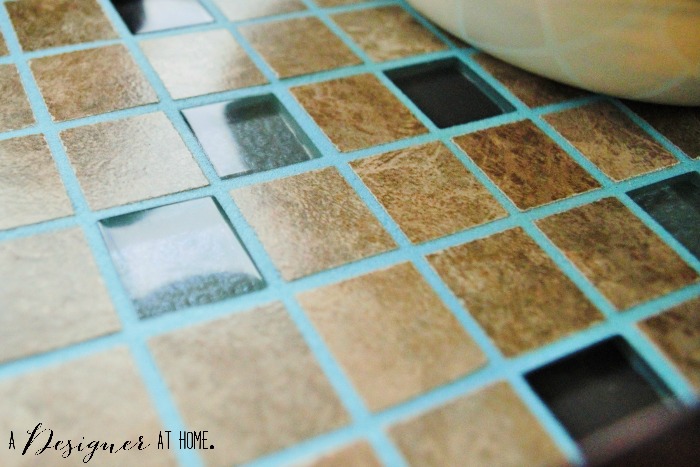
They’re calling the grout “fashionable,” which I think is especially cute. There are lots of different colors to choose from and additives that give a sparkly appearance. You can check out the colors and different additive options on the STAINMASTER® Glamour Grout Colors page. There’s also a fun video about it on YouTube.
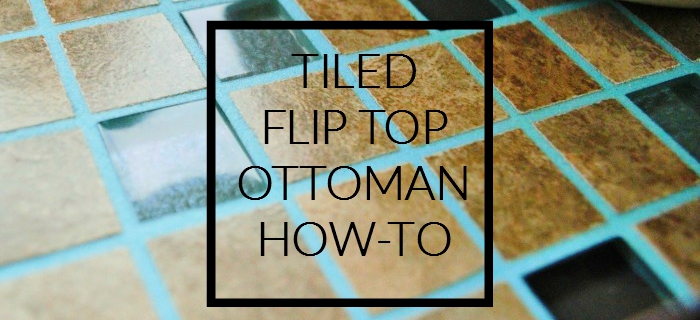
My mom and I really love the effect of the Tuscan-like tile mosaic paired with the aqua colored grout. There really are so many options to using the colored grouts with any kind and color of tile. Check out their fun video about it linked earlier to get inspiration!
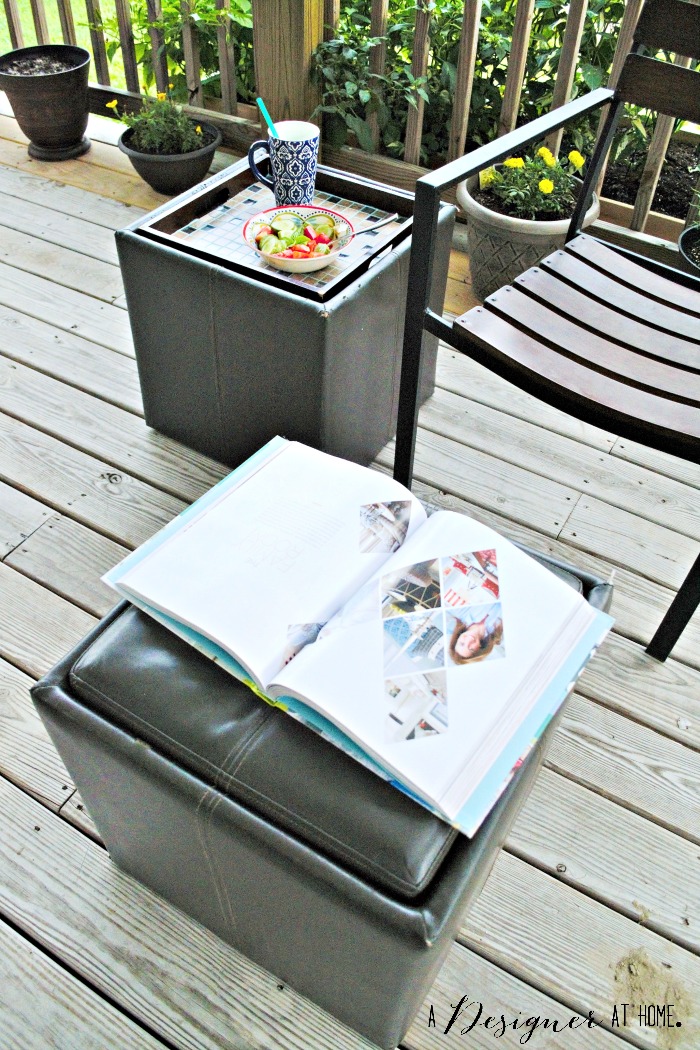
I hope you’ve enjoyed this how-to. Let me know if you have any questions and please be sure to leave a comment and give this post a share before you go. It helps me out a lot :). If you enjoyed this post, maybe you’d enjoy the others, too? Check out the project gallery and archives for more from A Designer At Home. Have a great day!
